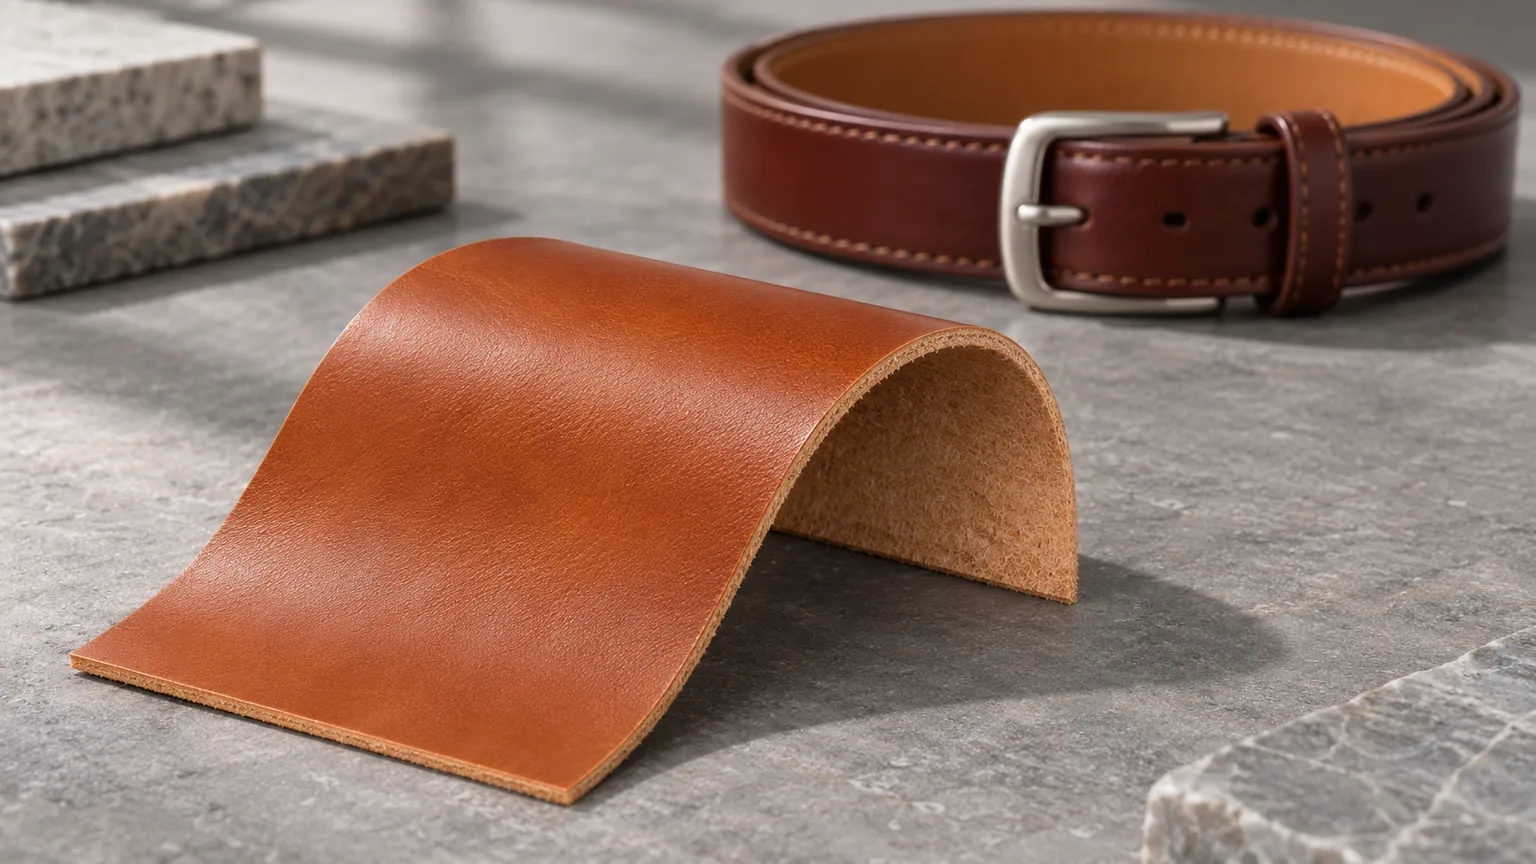
A Bally flex test tells you how an identified piece of leather or its finish looked after repeated bending under stated conditions. For a belt order, read the specimen description and damage observations before the cycle count. A result on the face leather can support buying that material. To approve the finished design, examine what happens at the working hole, buckle return and painted edge of a belt made to the proposed specification.
What did the laboratory actually bend?
Suppose a supplier sends a report with “50,000 flexes” in the subject line. Open the specimen description before forwarding the report to merchandising. A tannery may have submitted an offcut of finished leather. The factory may have used that leather over a filler, bonded it to a lining and applied several coats to the edge. Only the face was present in the laboratory. If the quote describes the entire strap as having passed, ask the supplier to identify the part its evidence covers.
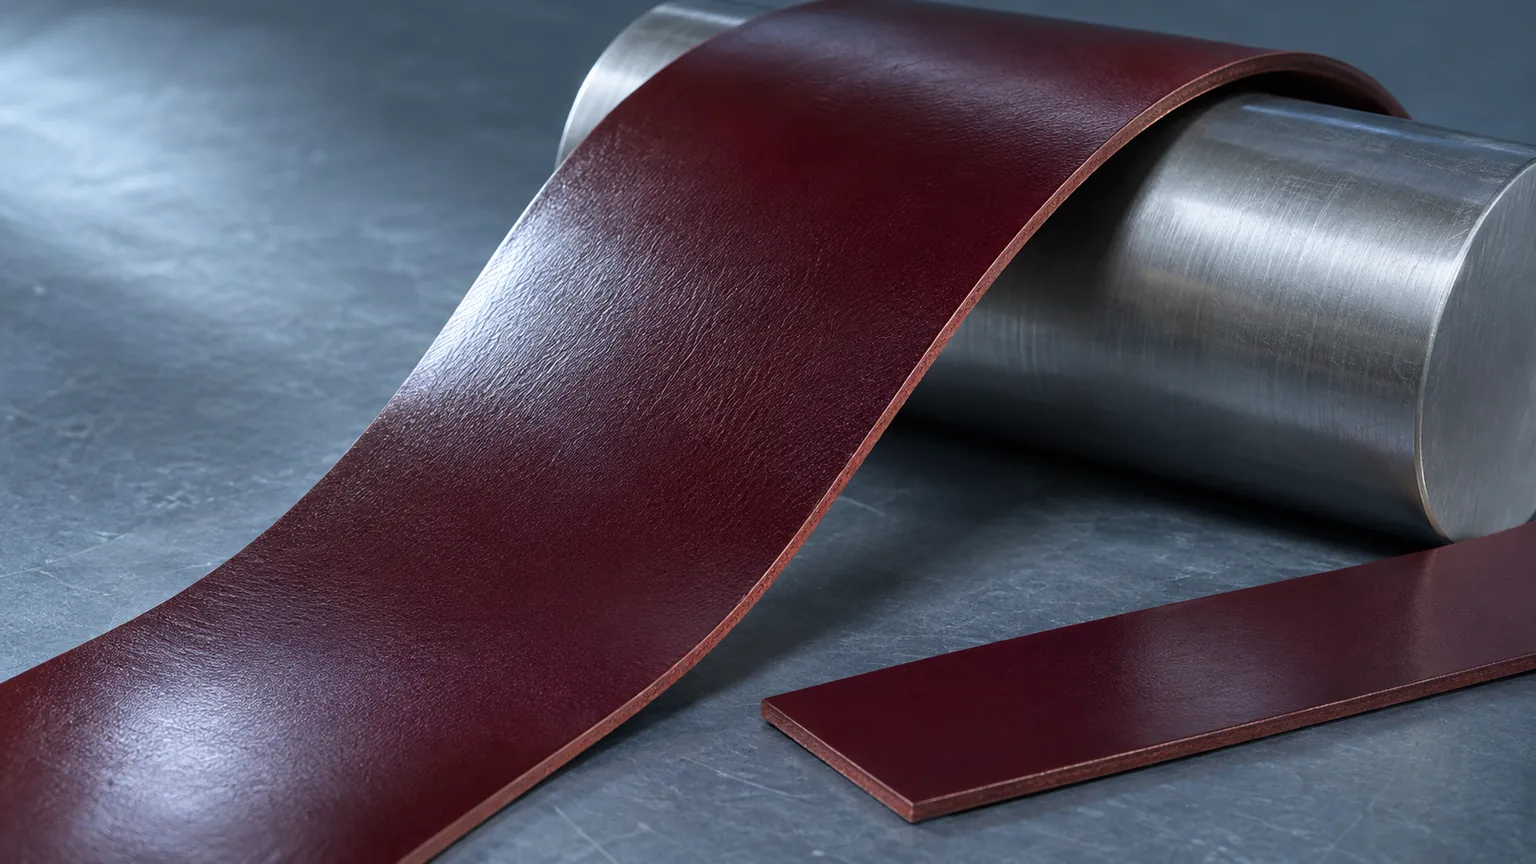
The published scope of ISO 5402-1:2022 covers dry or wet flex testing of flexible leather and its finish below 3.0 mm thick. The thickness boundary applies to the material being tested. A flexible 1.4 mm face may fit that description even when the completed belt is 3.6 mm thick. Those figures illustrate the distinction. They are not target thicknesses for a belt. Ask the lab about an alternative if you need evidence on a thick single-piece strap outside the stated scope.
If the lab proposes thinning the sample, ask what it will remove. Removing material from the back can make it easier to mount, but it also changes the article you are asking the lab to examine. Record the received thickness and the tested thickness and ask how the preparation affects what the lab can report. For a strap sold on the appearance of a substantial natural edge, a thinned specimen leaves an important buying question open. Keep a production-thickness strip for the separate review of that edge.
The word “Bally” identifies the kind of apparatus more readily than it identifies the method. SATRA TM55 describes a folded specimen held in clamps, repeatedly flexed and examined for damage at intervals. It particularly addresses flexible materials for footwear uppers. CTC, for example, lists EN ISO 17694 for its Bally flex service for shoe uppers. A shoe-material report can be useful background on a proposed leather. Get the method, edition and specimen identity before deciding whether it answers the requirement on your belt order.
Before two laboratories quote on the same leather
Send both labs a description of the face, its finish and its intended use. Include the supplier material code, color, lot if available and a photograph with the outside of the strap marked. Ask what size and quantity of uncut material they need and how to mark the cutting direction. If only a narrow belt is available, tell them its width before shipping it. A finished fashion belt can be too narrow to yield the required specimens. The cutting room may still have an offcut from the same production lot.
Choose the condition to match the question. A dry run gives a basis for comparing proposed dry leathers under like conditions. A separate wet result can matter for a style that may be fastened while damp. Keep each result against its own requirement. Passing a wet flex assessment would not establish that the belt resists water penetration, dries without staining or holds its original dimensions. Each of those has a different observable outcome. If the complaint is a finish opening when the belt is unrolled in the cold, use the cold-crack testing guide to define the temperature question.
Agree in writing on the endpoint and appearance criterion before asking for prices. A quote to inspect once at the final count and a quote to record damage at several checkpoints buy different information. The first may answer a yes-or-no purchasing question. The second helps a developer choose between two finishes that both show damage by the last inspection. Ask whether before-and-after photographs, individual specimen results and notes on changes already present before flexing are included. These details can make the less expensive quote adequate or leave it unusable.

Read a cycle count as an observation
“No visible cracking at 50,000 dry flexes” records an observation made when the run stopped, using the inspection conditions specified in the report. It leaves the next cycle unknown. “Cracking first recorded at 50,000” describes a different result. If the specimen was clear at 25,000 and nobody looked between the two inspections, the onset lies somewhere in that interval. These example counts illustrate how to read a report. The appropriate checkpoint and acceptable damage for an order belong in the product specification.
Keep the individual specimens visible when comparing options. Suppose two finishes reach the same final count. All pieces of one finish show a fine network of surface lines. One piece of the second has a lifted patch and the others appear unchanged. An average cycle number hides that difference. Look at the affected piece, its location in the hide if recorded and the images of the controls. A single lifted patch can justify examining a local variation or repeating a matched submission before making a decision about the entire finish.
A photograph can settle some disagreements and create others. Ask for one view of the specimen relaxed and another with the affected crease open enough to see its surface. Keep the light direction, scale and viewing distance similar for the reference piece. On an embossed or naturally grained leather, a ridge can throw a dark line before the test even starts. A comparison with the original image helps the designer decide if a new pale line is exposed material, a change in reflected light or a feature that was there all along.
Three report entries that call for different buying decisions
Swipe across the table on a small screen.
| Report entry | Supported reading | Next decision |
|---|---|---|
| No visible damage at the agreed stop | This specimen reached the endpoint under the recorded condition | Check lot and material identity before releasing the face order |
| Finish first cracked at an inspection | The previous clear inspection and this one bracket onset | Compare the recorded damage with the appearance limit |
| Cycle count given without a damage description | The exposure is documented but the appearance remains unclear | Request observations or photographs before comparing suppliers |
Locate a crack before changing the finish
Start at the surface. Is there a color change with an intact face, a fine break in the top finish, a lifted film, or a split that extends into the leather? Ask the lab to describe what it observed and where. If the finish has lifted, ask which surfaces are exposed underneath. A photo taken straight down may show a white line without revealing how deep it goes. A side view or an examined section, if the lab considers it appropriate, can save a factory from changing an otherwise satisfactory leather.
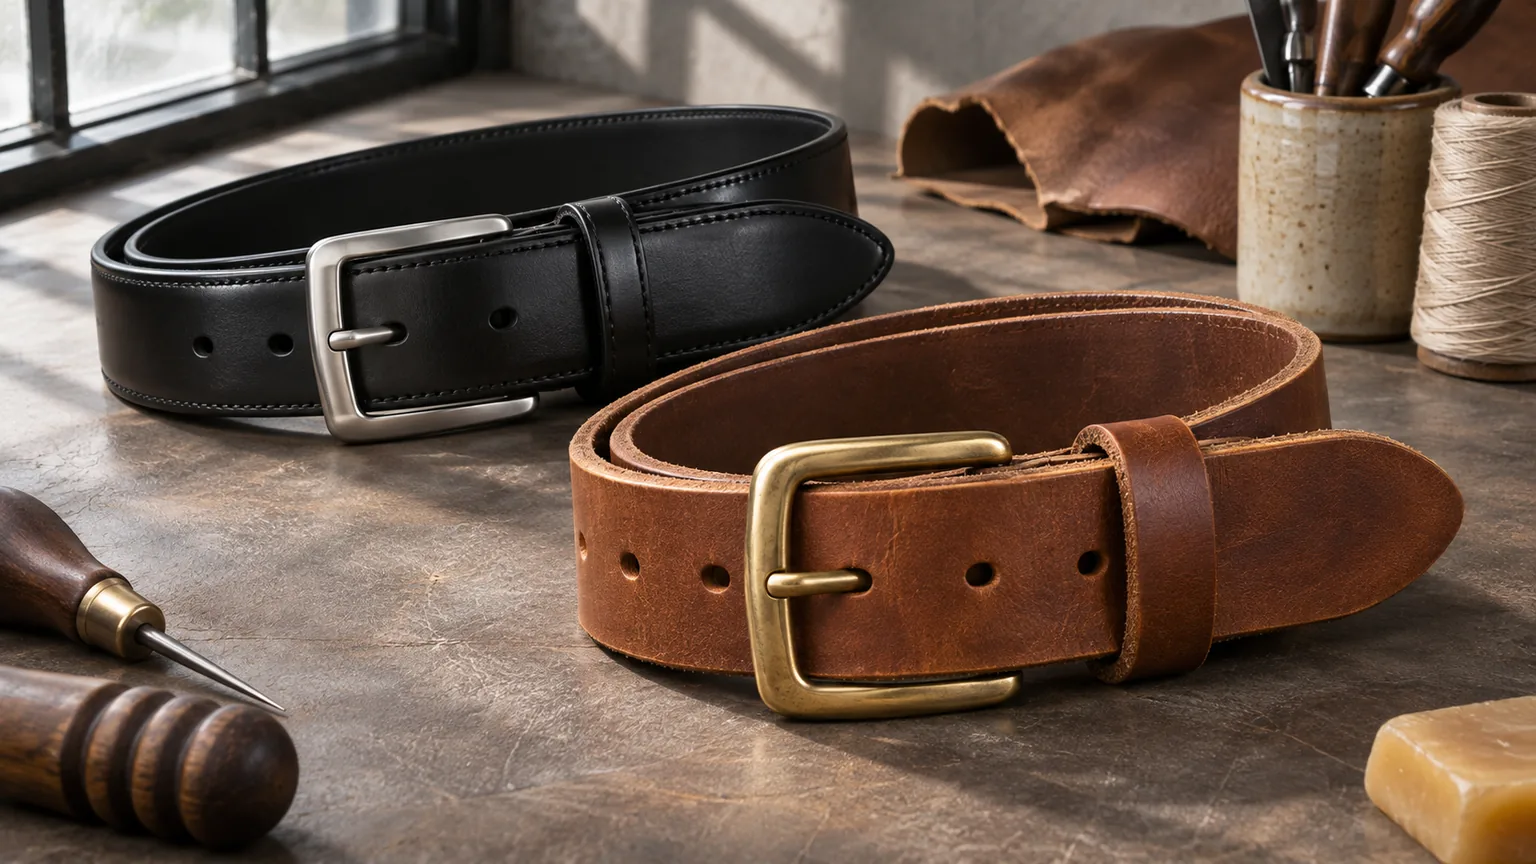
Think about what the customer will see. A waxed casual strap may show a pale line at a bend as part of its intended look. The same contrast on a uniform black dress belt may breach the approved appearance even if the substrate remains intact. Place a signed appearance sample alongside the flexed piece. If the designer accepts a color shift but rejects flaking, say so in those terms. A vague requirement such as “no marks” makes it difficult for a supplier to distinguish an intentional finish effect from rejectable damage.
A symptom alone seldom identifies a remedy. A line that follows the tip of an embossed ridge calls for comparison with an unembossed area of the same finish. Peeling confined to one color calls for the finishing reference and lot record for that color. An edge opening between the lining and the face, while the face remains intact, sends the developer to the bonding and edge construction. Changing all the leather, edge paint and adhesive in the next sample would make it hard to tell which change helped.
Walk the bend around an assembled belt
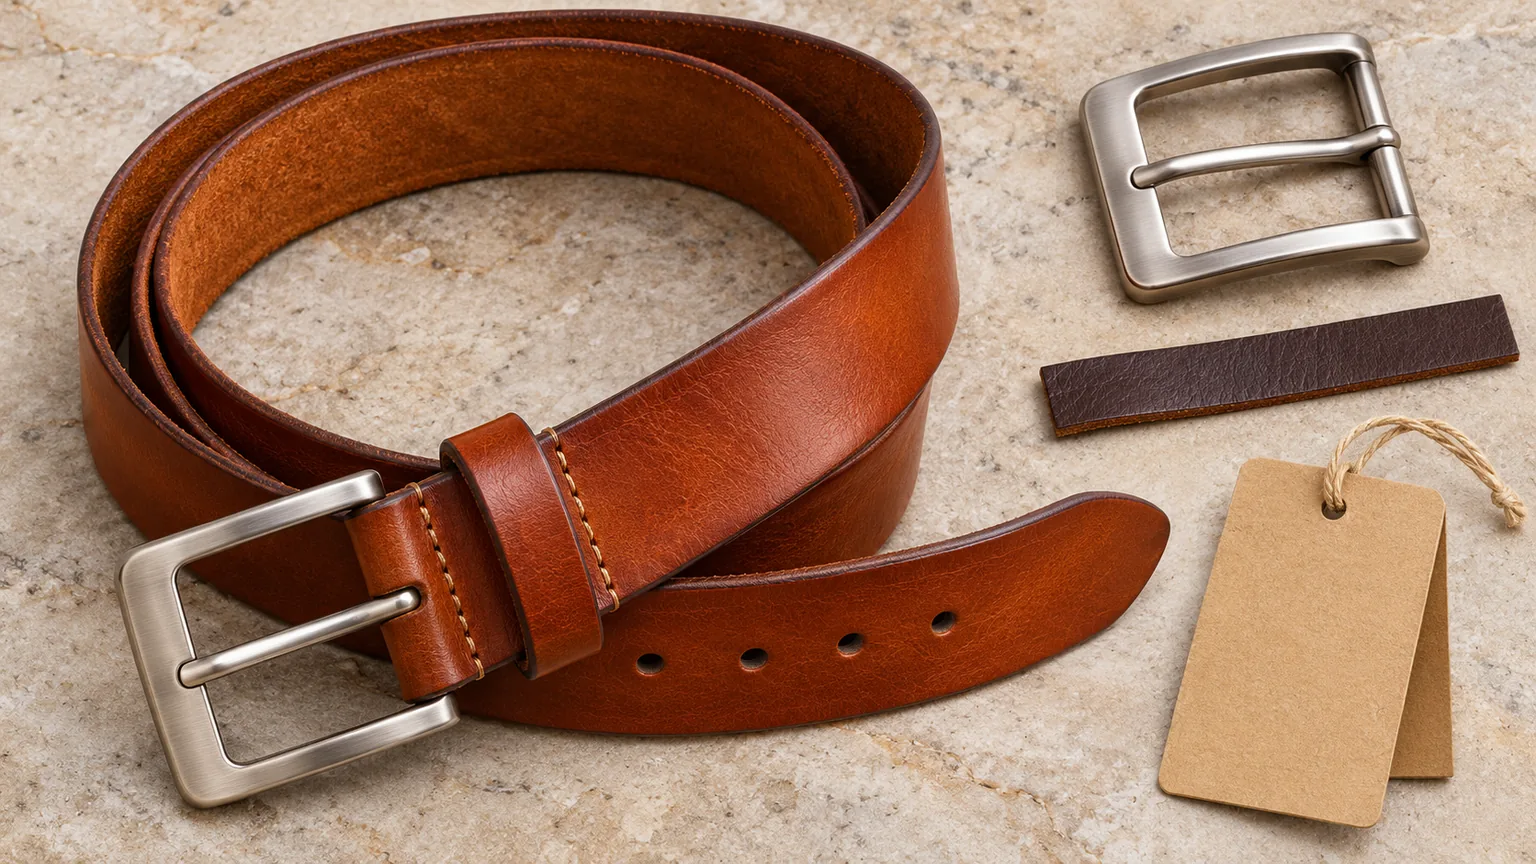
Fasten a sample around an appropriate form or on the intended garment and watch how the bend travels. The body curves gradually around the waist. Near the working hole the free strip turns past the buckle as the user fastens it. At the fixed end a short fold surrounds the bar, often staying in place for the life of the design. An interchangeable buckle adds an opening movement at that end. Mark the movement the product will actually see and agree how the team will inspect it on the assembled sample.

The outside of a tight curve has farther to travel than the inside. A bulky lining or a change to the bar profile can therefore alter the strain at the outside face even when the leather code stays the same. In a trial, keep the face stock and buckle constant and compare the original return with a revised skive, the local thinning used to form the fold. Look at the outside face, the edge buildup and the transition back to full thickness. Removing more material can ease the turn but leave less leather around a fastener. Confirm attachment strength separately if that detail changes.
Inspect the working hole with the production tongue and the intended strap thickness. A sharp-looking line just to one side of a hole may be where hardware bears on the face. Try a matched strap with the same hole position and a different tongue profile, then compare where the line appears. If the hole elongates or its edge tears under load, a flex report on intact leather answers little about that damage. Bring the buckle, hole shape and fastener arrangement into a finished-belt pull assessment.
A material approval can move ahead while a buckle detail waits
Consider an illustrative order for a slim black belt. The development sheet shows a smooth face, a lining and a narrow keeper. Its lab report identifies the current black face material and records acceptable appearance at the agreed dry endpoint. On the assembled trial belt, a pale opening appears in the painted edge just past the keeper when the tip is pulled through. Save that trial sample. The report can still support reserving the named face material, while the edge detail needs another sample before bulk assembly.
Make the next sample answer a single question. If the edge contacts a tight keeper, hold the face stock and edge finish constant and try the proposed additional clearance. If the edge still opens in a free bend away from the keeper, compare a different edge build at the original clearance. Record the point where each sample showed damage, the condition when examined and the revision on the trim drawing. If the buyer approves the wider keeper, check that it still holds the free end close enough to the body for the intended look.
Attach a release note to the lab report so purchasing knows what it can order. Identify the material reference and color, the report number and method, the tested condition and the observation accepted. Then name the sample revision and any detail still open. A purchasing colleague should be able to tell whether they can reserve leather, cut parts or release finished belts. If the buyer has only approved a color sample, that fact also belongs in the note.
At reorder, compare the actual change with that note. A supplier offering the same leather under a new lot number may have production records that connect it to the agreed specification. A substituted finish, a different lining or a tighter keeper raises a separate question about which evidence still applies. Repeat the material evaluation when the face or finish changes enough to affect the requirement. Revisit the assembled detail when the geometry changes. Retaining a signed belt and an identified offcut gives both sides something physical to compare with the next delivery.
For a belt sample review with HDBelt, send a photo with the troublesome bend circled and the specimen description from any existing report. If the style is still a sketch, identify where the buckle sits and the finish the customer should see after fastening. That gives the development team a starting point for choosing the material submission and the first construction trial.