
You haven't provided any English text to translate. Please send the content you'd like translated into French.
Guide neutre de décision sur les matériaux B2B
Matériaux pour ceintures en cuir : guide d'achat pour la sélection et l'approvisionnement
Choisissez les matériaux de ceinture en cuir selon l’usage prévu, l’apparence, le toucher, la construction, l’entretien et le vocabulaire marketing. Ce guide compare le cuir, la refente, le cuir reconstitué, le daim, le synthétique enduit, le textile et les fibres végétales en termes d’achat clairs.
- L’identité du matériau avant le nom marketing
- La construction complète de la ceinture avant les allégations de performance
- Une page spécialisée pour chaque famille de matériaux
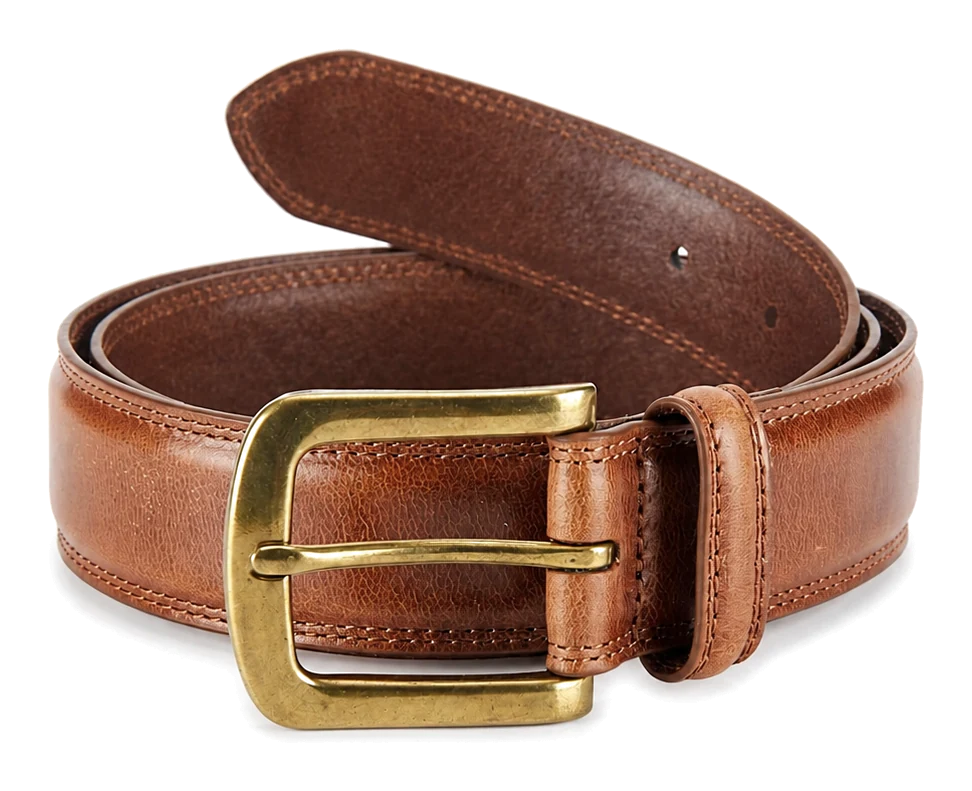
Cartographiez les principales filières de matériaux de ceinture
La surface visible ne constitue pas toujours la ceinture complète. Commencez par l’identité du matériau, puis définissez l’âme, la doublure, le renfort, le bord, les attaches et la finition.
Voie matière 01
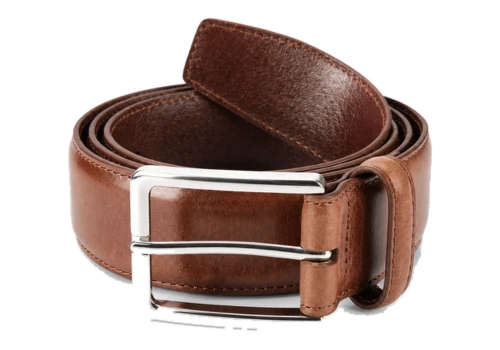
Pleine fleur et fleur corrigée
Voies de cuir de dessus distinguées par le traitement de surface du grain conservé ou autorisé par l’acheteur, puis définies par article et finition.
Voie matière 02
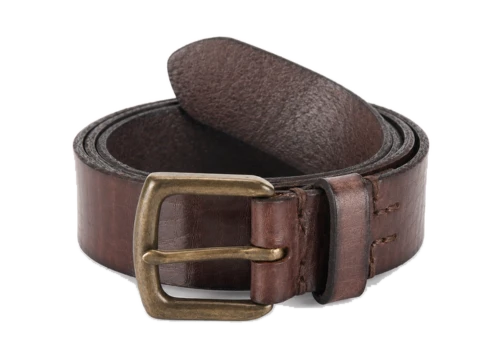
Refente et cuir reconstitué
Différentes options de couche de peau et composites qui nécessitent une face, un support, une structure de couches et une description produit clairs.
Voie matière 03
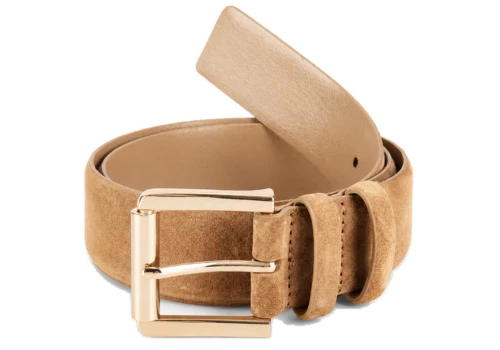
Daim et nubuck
Surfaces duveteuses qui doivent indiquer la couche réelle ou le traitement côté grain, le sens du duvet, la couleur et la limite de transfert.
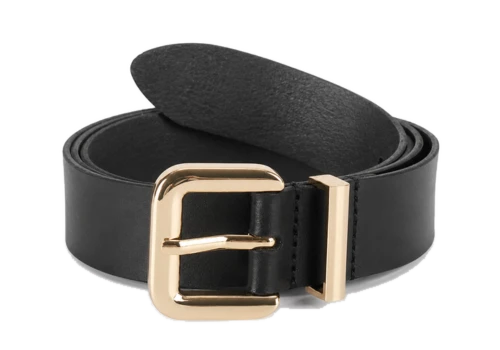
Voie matière 04
PU et matériaux positionnés comme véganes
Constructions synthétiques ou composites spécifiées par le revêtement, le support, la doublure et l’empilement complet de la ceinture.
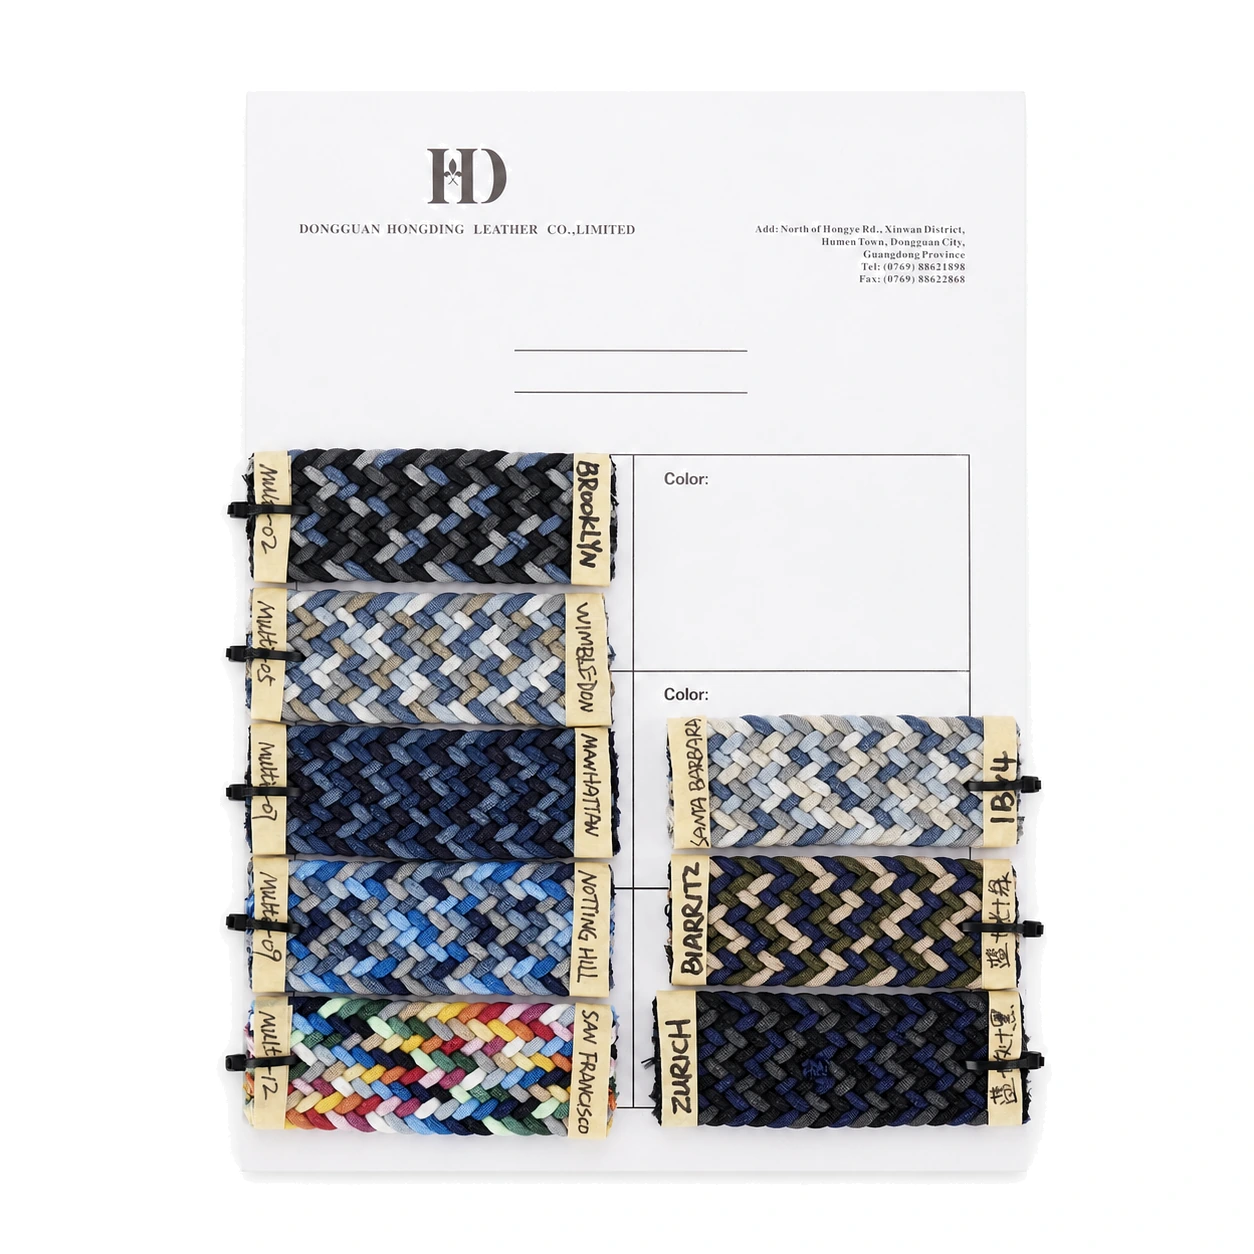
Filière matière 05
Tissé, tressé et sangle
Les systèmes de fil, ruban, tresse, tissage, élastique et garniture sont contrôlés par la composition, la structure, l’extensibilité, la reprise et les interfaces de quincaillerie.
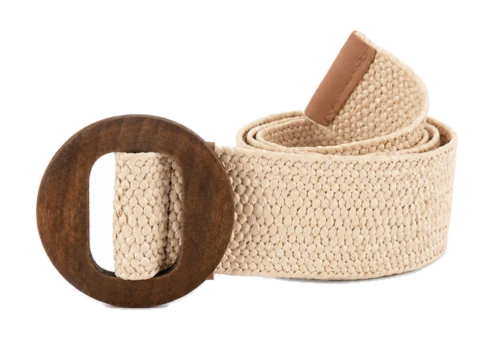
Filière matière 06
Paille, raphia et recyclé
Options en fibres végétales et à contenu recyclé qui nécessitent un intrant nommé, une construction définie, une variation acceptable et des instructions d’entretien pratiques.
Utilisez Pro Pelli pour le développement de la couleur et de la surface du cuir.
Pro Pelli peut développer la couleur, le toucher, la texture et la finition de surface sur un article en cuir entrant défini. L’article sélectionné et ses informations amont restent distincts du travail de finition.
01Intrant de finitionOuvrir le détail de la décision
Article en cuir entrant nommé, informations de source disponibles, épaisseur, tempérament et état de surface initial.
02Sortie de finitionOuvrir le détail de la décision
Couleur, texture, toucher, brillance et surface de référence définis par le projet, liés à un processus ou à une référence d'article.
03Avant la finitionOuvrir le détail de la décision
Confirmer l'article entrant, les informations de tannage disponibles et tout libellé de matériau qui doit rester inchangé.
04Autres matériauxOuvrir le détail de la décision
Conservez les produits synthétiques, textiles et en fibres végétales avec les informations sur le fournisseur et les procédés pour ces matériaux réels.
Comparez les filières de matériaux sans échelle bon, mieux, meilleur.
Aucun matériau n’est le meilleur pour toutes les ceintures. Comparez l’article, la construction, l’apparence, l’usage, l’entretien et les exigences d’achat du produit fini.
Entrée 01
L’identité avant le classement.
Nommez la couche, le substrat, la fibre, le revêtement, le composite ou la teneur attribuée avant de comparer les performances ou le prix.
Entrée 02
L’article avant la famille.
Comparez les articles de fournisseur ou de projet avec des échantillons physiques et les spécifications actuelles, pas seulement les noms de catégories.
Entrée 03
La ceinture finie avant le texte marketing.
Reliez la face, les couches, le bord, la quincaillerie, l’exécution, l’essai et la description produit au SKU réel.
Choisir les matériaux en six étapes pratiques.
Choisissez le matériau selon une séquence pratique afin que l’ajustement, la construction, la surface, le bord, la quincaillerie et les documents produit requis soient pris en compte avant le premier échantillon.
Étape 1 : Définir la fonction du produit
Indiquer le porteur, le vêtement, l'usage, le style, la largeur, la coupe, le canal, le positionnement prix, l'entretien attendu et les marchés cibles.
Étape 2 : Nommer les matériaux requis
Lister les couches, fibres, revêtements et composants d'origine animale ou non animale requis et interdits.
Étape 3 : Construire l'empilement complet
Définir la face, le cœur, le renfort, la doublure, l'adhésif, le bord, le fil, la boucle et les zones de fixation locales.
Étape 4 : Comparer le comportement de l'article
Passer en revue l'épaisseur, la tenue, l'élasticité, la récupération, le poil, la variation, la finition, le bord et la compatibilité des composants.
Étape 5 : Vérifier les libellés et les fichiers du produit
Faire correspondre chaque mention de matériau à l'article fournisseur actuel, à la nomenclature, à l'échantillon et au document justificatif.
Étape 6 : Approuver et continuer
Figer les masters physiques et envoyer le programme à la page spécialisée matériau ou produit pour un développement détaillé.
Vérifier les libellés des matériaux par rapport aux fichiers produit actuels.
Vérifiez la formulation prévue du matériau avant l’échantillonnage. Un échantillon d’aspect correct peut malgré tout utiliser le mauvais article ou une description de produit que les dossiers actuels ne soutiennent pas.
Enregistrement 01Dossier d’usine ou d’établissement
Indique le titulaire nommé, le site et les activités examinées. Il ne couvre pas automatiquement chaque matériau ou produit.
Enregistrement 02Dossier d’article de matériau
Relie un article fournisseur ou projet à sa couche, sa composition, sa finition et au lot ou à la transaction applicable.
Enregistrement 03Contenu recyclé ou attribué
Définit le composant nommé, la base du pourcentage et le document de chaîne ou de transaction applicable.
Enregistrement 04Rapport chimique ou physique
Indique l’échantillon, les composants, la méthode, les conditions, la limite, le résultat, la date et le marché couvert ou l’exigence de l’acheteur.
Enregistrement 05Formulation du produit fini
Vérifie la nomenclature actuelle, la description du matériau, l’entretien et la formulation des pourcentages pour le marché et le détaillant réels.
Enregistrement 06Revérifier après un changement
Renvoie un nouveau fournisseur, article, finition, couleur, support, quincaillerie ou marché vers l’examen du dossier produit.
Explorez chaque matériau sur sa page spécialisée
Utilisez ce guide pour affiner le choix du matériau, puis ouvrez la page spécialisée pour la construction, la surface, l’entretien, les risques et les éléments d’entrée de la demande de prix propres au produit.
Entrée 01
Pleine fleur et fleur corrigée
Définir le traitement du grain retenu ou autorisé, l’article nommé, le tannage, la finition, l’épaisseur, la tenue et la gamme naturelle.
Entrée 02
Cuir tanné végétal
Examiner l’article réel, les preuves de tannage, le toucher, la tranche, la finition, l’entretien et les limites du langage sur le vieillissement.
Entrée 03
Cuir embossé
Separate real base from visual motif and control plate, repeat, depth, color, edge and labeling.
Entrée 04
Cuir reconstitué et cuir refendu
Distinguish hide layer from composite material, then define the face, backing, reinforcement and market wording.
Entrée 05
Matériaux en PU et positionnés comme vegan
Define the coating, carrier, backing and construction, then confirm what evidence supports any non-animal or environmental wording.
Entrée 06.
Daim et nubuck
Clarify layer, grain-side treatment, nap, color, transfer, edge and care decisions.
Hand off the Selected Leather Article for Surface Development
Once the incoming leather article is named, the finishing handoff can focus on color, feel, texture and the physical surface target for the belt program.
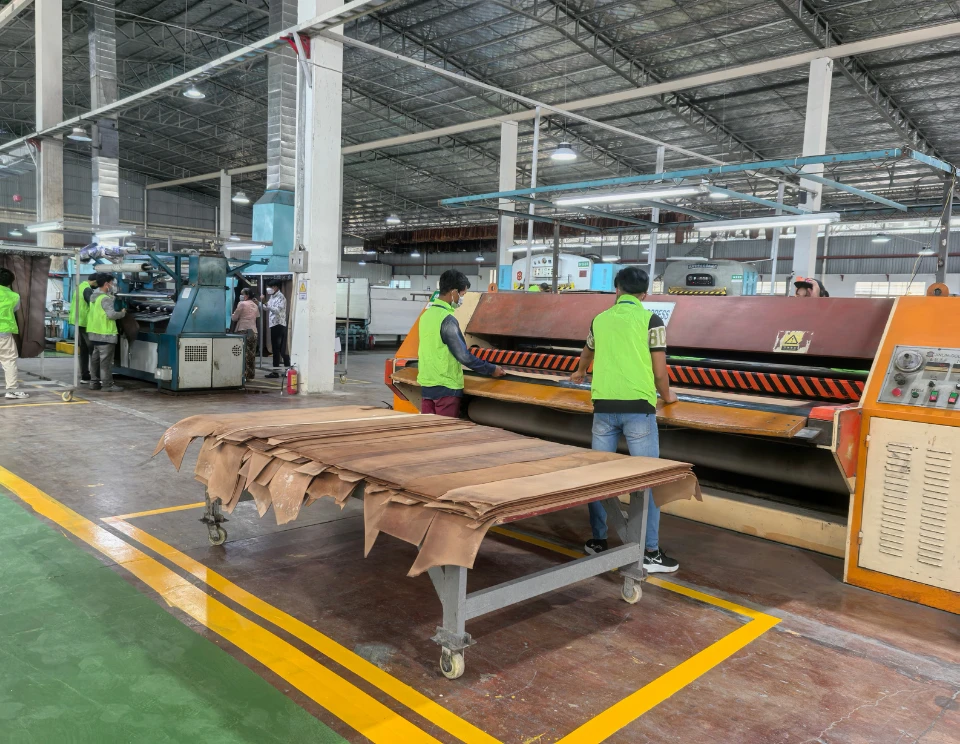
Avant la finition
Identify the incoming article, allowed surface treatment, available tannage information, thickness and temper.
Pendant le développement
Control buyer reference, color, hand, texture, embossing and protective surface direction with physical submissions.
At Material Release
Retain the article or process code, physical master, acceptable range, lot link and open belt checks.
At Belt Release
Verify the complete BOM, hardware, edge, stitch, size, branding, tests, labels and packed SKU.
Resolve Belt Material Identity and Evidence Questions avant l'échantillonnage
These answers help buyers move from a category name to a defined article, complete belt construction, clear product wording and the right specialist page.
Start with a Defined Material Decision
Send the product use, target look, price position and material options you are considering. Our first review will identify the best next step and any missing product information.