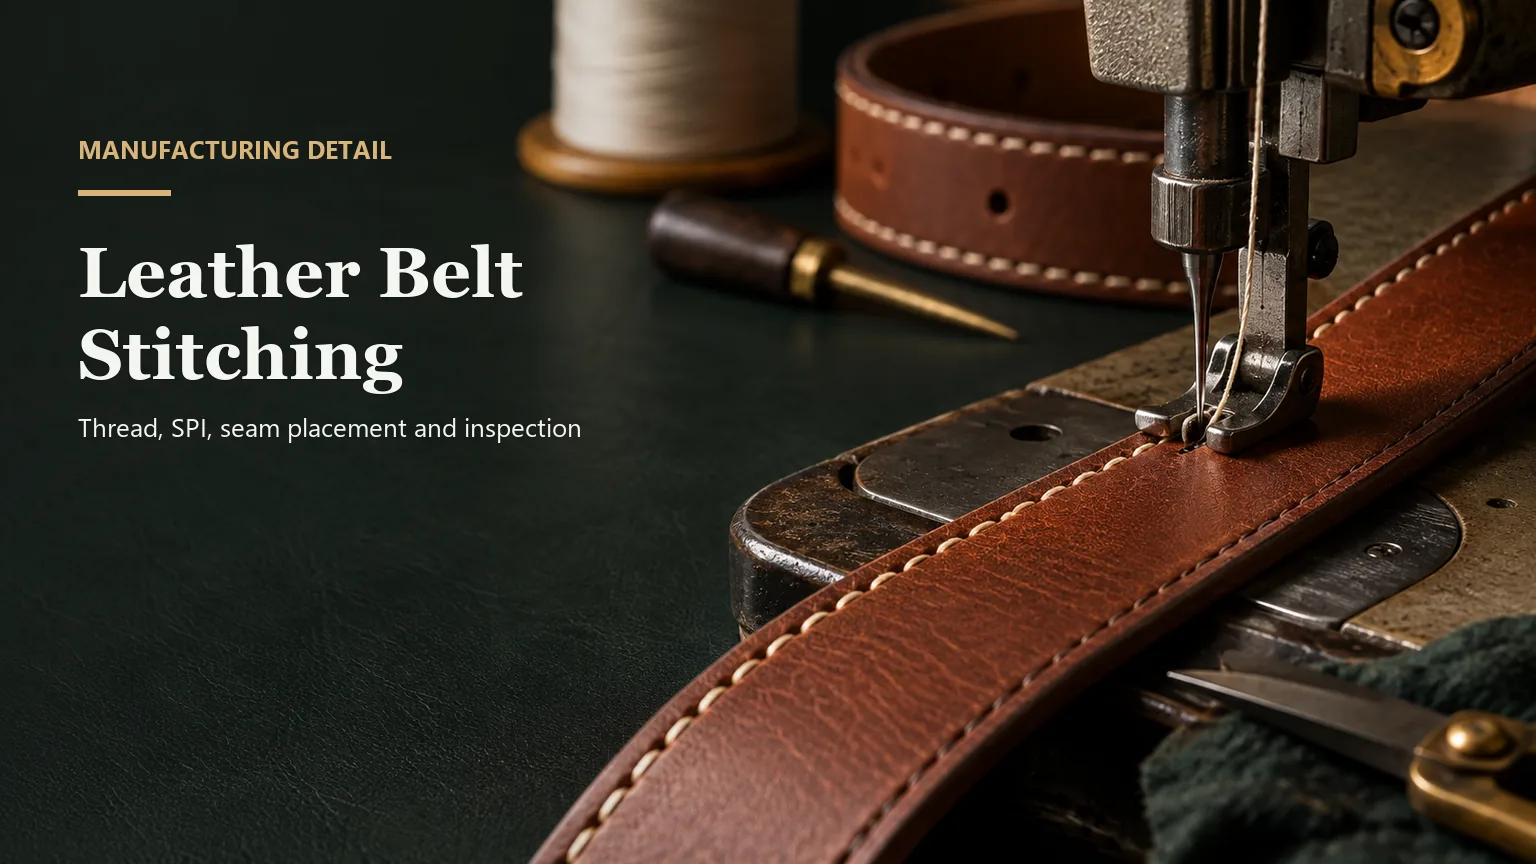
Good leather belt stitching starts with the complete construction: the seam’s job, leather and lining, thread, needle, stitch spacing and distance from the edge. Specify these together. A neat face is insufficient if the underside loops, the edge tears beside the holes, or the buckle fold fails when the belt bends.
For a buyer, the useful question is not simply which stitches per inch look expensive. It is which seam can reproduce the intended appearance while holding the actual belt construction together. This guide explains those choices, then turns them into a sampling trial and an inspection record.
Points clés
- Separate decorative stitching from seams that secure layers or the buckle attachment.
- Approve face and underside together, with top and bobbin threads identified separately.
- Increasing stitch density changes both thread contribution and leather perforation; strength does not rise automatically.
- Trial the final layer stack, including skived folds, lining, reinforcement and edge finish.
- Use a measurable acceptance record alongside the physical master, and recheck construction changes.
Identify What the Seam Must Do
Map stitching by function before selecting its appearance. On a single-layer strap, an edge line may primarily be decorative. On a lined belt, it can also secure the perimeter of the construction. A stitched buckle fold has a different job again: it connects the strap to the hardware attachment. Do not give these zones one undifferentiated approval.
Mark the drawing with each seam’s purpose. For a decorative line, prioritize the intended visual rhythm and avoid unnecessary damage to the strap. For a joining seam, inspect how the layers remain connected. For a buckle attachment, review the complete fold, reinforcement and hardware arrangement. A decorative edge-stitch sample cannot establish attachment performance.
This distinction also improves cost discussions. A request for heavier thread or a second stitch row should identify what it improves. If the objective is stronger visual definition, compare appearance samples. If it is attachment performance, define the relevant assembled-belt test. Extra stitching is a design change, not a performance certificate.
Understand the Structure Behind the Line
ISO 4915 provides terminology and classification for stitch types. It gives buyer and manufacturer a shared name for the structure; it does not specify an acceptable leather belt or certify its strength.
In a two-thread lockstitch, the needle thread and bobbin thread interlock. Check the balance through the material thickness, not only the line visible on top. AMANN’s stitch formation guidance illustrates correct and incorrect thread balance. A sectioned development sample can help locate the interlock when surface inspection is inconclusive.
Coats compares 301 lockstitch with 401 chainstitch: lockstitch offers a reversible appearance and relatively low bulk; chainstitch offers greater seam extension but a different underside and a runback risk. Those are construction differences, not a universal ranking for belts. A supplier proposing a replacement stitch must show its underside, termination and suitability for the intended assembly.
For a reversible belt, underside appearance is a selling surface. On another style, it may be less visible but still needs secure formation. Record both faces rather than using a front photograph as the entire seam approval.
Start With the Actual Layer Stack
A seam trial should reproduce the material through which the needle will pass. Draw the cross-section: outer leather, lining, any reinforcement, bonded interfaces and the finished edge. Identify which layers are skived, meaning reduced in thickness, and where that reduction starts. Total thickness alone cannot describe the assembly.
Compare the straight strap with its transitions. A buckle fold may double the local build; a keeper connection can introduce another overlap. The tip may combine a curve with a changing seam direction. Ask for trial pieces from these zones as well as the easy straight section. Approving only the latter leaves the most demanding geometry unexamined.
Also distinguish a sewing problem from a construction problem. If an approved stitch line follows a lining edge that was cut inaccurately, adjusting tension will not correct the underlying outline. If the folded assembly is too bulky for the intended buckle clearance, denser stitching does not resolve the fit. Review the cross-section, seam and hardware together.
de HongDing manufacturing scope includes cutting, skiving, assembly, stitching and hardware coordination. Connecting those stages during development is more useful than approving each visible detail without checking its neighboring operations.
Pair Thread Identity With Needle Geometry
Specify an actual thread product, not just “polyester” or “heavy thread.” For example, Coats describes Gral as a lubricated continuous-filament polyester product and reports abrasion resistance and stitch-formation properties. These are claims for that product range. They do not establish equal performance for every polyester thread or prove a completed belt seam.
Record the manufacturer, product code, size designation and color reference separately for needle and bobbin threads. If they are identical, explicitly state that. A ticket number without its product identity is an incomplete purchasing instruction. Retain the supplier’s technical sheet so proposed substitutes can be compared against the same specification.

Needle size and point style are separate decisions. Groz-Beckert’s leather point guide shows how cutting geometry changes hole shape and stitch appearance. Its LR point produces a slanted effect whose prominence depends on the leather. Its S point cuts along the sewing direction, producing a straighter seam with elongated visible holes. These appearances are consequences of different cuts, not just different thread colors.
A development comparison should therefore include the holes as well as the thread line. Examine the sample at its intended viewing distance, then inspect the perforations closely. If changing the point improves the decorative effect, recheck the seam’s functional requirement on the new combination. A visual improvement alone does not establish a stronger joint.
Choose the visual target first: a restrained tonal line, pronounced contrast stitching or a particular slant. Then compare candidate seams on the same leather. Record needle system, size and point, while letting the technician confirm machine compatibility. Approve thread color beside the leather and edge finish, rather than against an isolated color card.
Balance Stitch Density and Edge Distance
SPI means stitches per inch. In leather, increasing stitch density adds thread to a given seam length while also increasing perforation. Groz-Beckert’s leather processing guidance explains that needle size, cutting point and stitch spacing interact with seam strength. Changing thread or point geometry can require a new stitch-length choice. “More stitches” is therefore an incomplete upgrade instruction.
To measure consistently, name a straight zone on the relaxed belt and use a fixed gauge length. Count stitch intervals along the seam, excluding overlaps and backtacks. For an illustrative conversion, eight equal intervals across 25.4 mm represent 8 SPI and an average pitch of 3.175 mm. This is arithmetic, not a recommended belt specification.
Define edge distance from a named datum, such as the finished edge to the stitch-line center. Do not switch silently between the cut edge and a rounded or coated finished edge. Review the closest approach at the tip and around slots, not just the average offset on the straight strap.
The visual trade-off is specific: moving the line inward changes the apparent width of the border; moving it outward reduces the material outside the seam. Compare those effects on the proposed construction. Where a curve needs a transition, draw the intended path and approve a physical example instead of asking the operator to maintain an impossible interpretation of a straight-line measurement.
Run a Trial That Answers a Question
A useful trial isolates a decision. Keep the leather stack and thread fixed while comparing candidate stitch spacing; then hold the preferred spacing while checking a proposed point change. If everything changes at once, an attractive sample tells you little about which choice caused the improvement.
Begin by comparing the fold with the straight section: layer order, local thickness, skiving transition and positioning beneath the foot. Ask the technician to check stitch formation on that assembly. Keep a labeled sample before and after each adjustment. If the fold still cannot meet both appearance and attachment requirements, revisit its construction rather than hiding the underside or tightening tension blindly.
Then evaluate the completed belt. Operate the buckle, flex the agreed zones and inspect both faces using the project’s defined method. If a force or repeated-flex requirement matters, specify the fixture, direction, conditioning, repetitions and acceptance criterion with the testing team. Hand bending is a useful development observation; it is not a substitute for a defined performance test.
The trial should end with a reasoned selection: which option met the appearance target, which failed, and what happened at the difficult zone. Preserve rejected samples when they illustrate an important boundary. “Sample approved” alone loses the lesson that makes repeat production more reliable.
Use a compact trial log: sample ID, changed variable, variables held constant, observations on both faces, functional check and decision. For the fold example, compare the original and revised fold while retaining the approved straight section as a control. If the supplier changes both the skiving and needle point, separate those changes in another trial before attributing the result to either one. This makes the final specification explainable, rather than merely reproducible by one operator.
Diagnose the Defect Before Changing Settings
Start with location and pattern. Does the symptom appear throughout the strap, only at a fold, or immediately after a restart? Compare the affected area with an acceptable area from the same piece. This narrows the investigation without assuming that every defect comes from the thread.
| Symptom | Check first | Comparison to retain |
|---|---|---|
| Skipped stitches | Needle condition, loop formation, timing and material control | Straight section versus transition |
| Loose loops or visible imbalance | Threading, tension and thread-path obstruction | Face and underside together |
| Fraying thread | Needle/thread fit and rough contact surfaces | Damage location along thread path |
| Variable stitch spacing | Feed and control of the assembly | Same marked gauge zone |
| Edge splitting beside holes | Point, needle size, spacing and edge geometry | Failed edge and retained trial |
Coats’ troubleshooting guidance identifies multiple possible causes for skipped stitches, thread breakage and imbalance. Machine timing and maintenance belong with trained technicians. The buyer’s role is to define the unacceptable symptom and retain traceable samples, rather than prescribe a machine adjustment from a photograph.
Inspect starts and stops separately. State the permitted end-security method, overlap position and appearance. For any proposed repair, compare the repaired area with the master and assess the affected function. A second pass should not be accepted merely because it hides a loose end; its appearance and added penetrations need review.
Build an Acceptance Record Inspectors Can Use
A physical master communicates texture and appearance well, but it cannot explain every measuring method. Combine it with the following record. The blanks are deliberate project inputs: agree them through sampling before production. Separate a visual allowance from a performance requirement so a good-looking seam cannot overrule a failed attachment test.
| Characteristic | Record before approval | Inspection reference |
|---|---|---|
| Seam identity | Zone ID; function; stitch designation; drawing revision | Labeled face and underside master |
| Needle thread | Maker; product; material; size system/value; color | Approved thread label and technical sheet |
| Bobbin thread | Same fields, or explicit “same as needle thread” | Separate approved reference when different |
| Needle and stack | System; size; point; layer order and thickness specification | Trial record and cross-section |
| Stitch density | Zone ___; gauge length ___; accepted interval count ___ | Relaxed belt; named straight section |
| Seam path | Datum ___; offset range ___; curve exceptions ___ | Drawing and marked measurement locations |
| Appearance | Lighting; distance; orientation; defect allowances | Master plus accepted/rejected boundary examples |
| Ends and performance | Termination method; test method; acceptance criterion | Zone-specific appearance and test records |
Write explicit disposition rules for broken thread, skipped stitches, exposed tails and repairs. State whether a finding triggers rejection, sorting, investigation or an agreed repair route. Keep the lot-sampling plan separate from the product limit: checking fewer pieces does not change what an acceptable seam is.
de HongDing quality-control coordination can connect the seam record to material, hardware and finished-belt checks. The development team and inspection team should use the same approved revision, with exceptions recorded against a specific zone.
Carry the Decision Into Repeat Production
Changes to the lining, reinforcement, skiving, thread product, needle point or seam path should reopen the affected part of the approval. Describe what changed and why. Compare the revised seam with the prior master, then update the record. An unchanged style name does not mean an unchanged construction.
Costing should also follow the actual assembly. Coats’ consumption guide identifies stitch type, seam type, thickness, layer count and SPI as relevant variables. For a quotation comparison, align those inputs before treating a lower sewing cost as an equivalent offer.
HongDing’s business roots date to 2004, with its current company identity formed in 2010: 22 years of industry experience as of 2026. Our development role includes material and hardware coordination, sampling, revisions and production transfer. For stitching, that means discussing the seam as part of a complete belt, from the first reference through the construction selected for production.
Questions fréquentes
Can a photograph serve as the approval sample?
Use it for communication, but retain a physical master for final approval. Photographs cannot fully convey underside formation, local thickness or tactile differences. Label both with the same construction revision.
Should every color use the same thread reference?
Keep the approved construction consistent where appropriate, but identify each color reference. Review the thread against its actual leather and edge finish. A shared product code does not settle the visual match across every colorway.
How should a thread substitution be handled?
Record the proposed product and reason, compare its technical information, and run the affected seam trial before approval. Include the bobbin thread in that review, even when the visible needle thread remains unchanged.
Can one belt size represent the whole range?
It can represent a shared straight-seam construction, but check whether other sizes change seam length, hole positions, fold geometry or termination. Validate any changed zone instead of assuming the sample covers every size.
Develop the Seam With the Complete Belt
Send the belt drawing or reference sample, cross-section, intended stitch appearance and any attachment or wear requirements. HongDing can coordinate material choices and sampling so the seam record reflects the construction you intend to order.