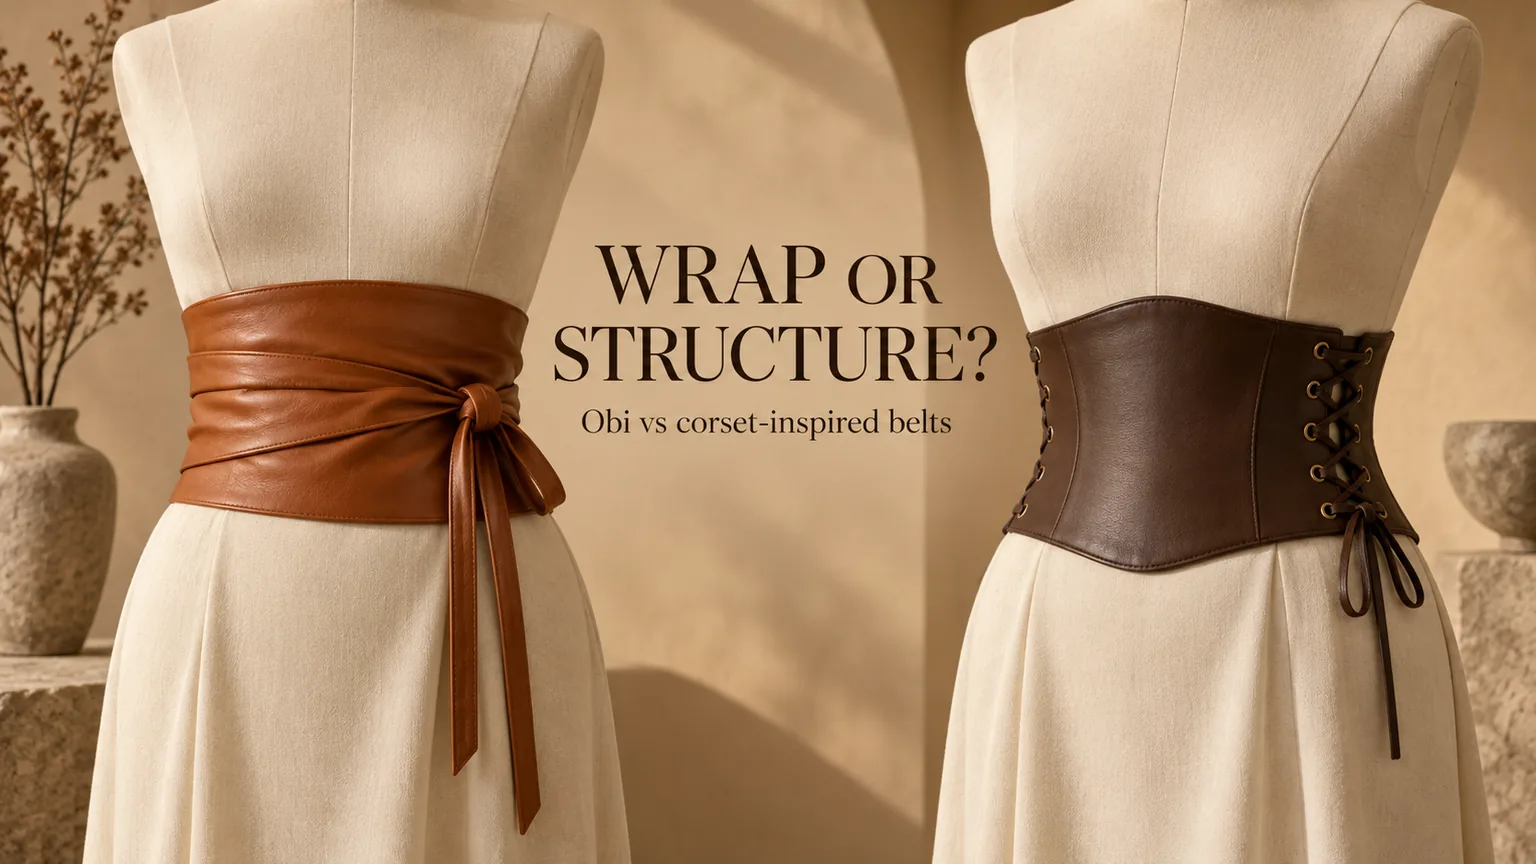
Choose an obi-inspired wrap belt when the design should adjust through overlap and ties, with a softer relationship to the garment. Choose a structured corset-inspired fashion belt when a defined panel outline and repeatable closure position matter more. The names overlap in retail use: neither “obi” nor “corset” tells you whether a belt contains elastic, reinforcement or boning. Specify the construction before comparing samples.
A wide silhouette can come from a flexible sash, a shaped leather panel, an elastic back or a reinforced assembly. These routes may look similar in a front photograph but behave differently when tied, seated, packed or graded across sizes. For development, the central question is what holds the shape, and what closes the belt?
Here, “obi-inspired” means a contemporary fashion wrap belt, not a guide to traditional Japanese dress. “Corset-inspired” describes a fashion accessory, not a medical support, waist-training device or promise of body change. Our wide-belt design overview addresses collection direction; this comparison goes deeper into the two construction routes.
Separate the broad panel from the fastening system
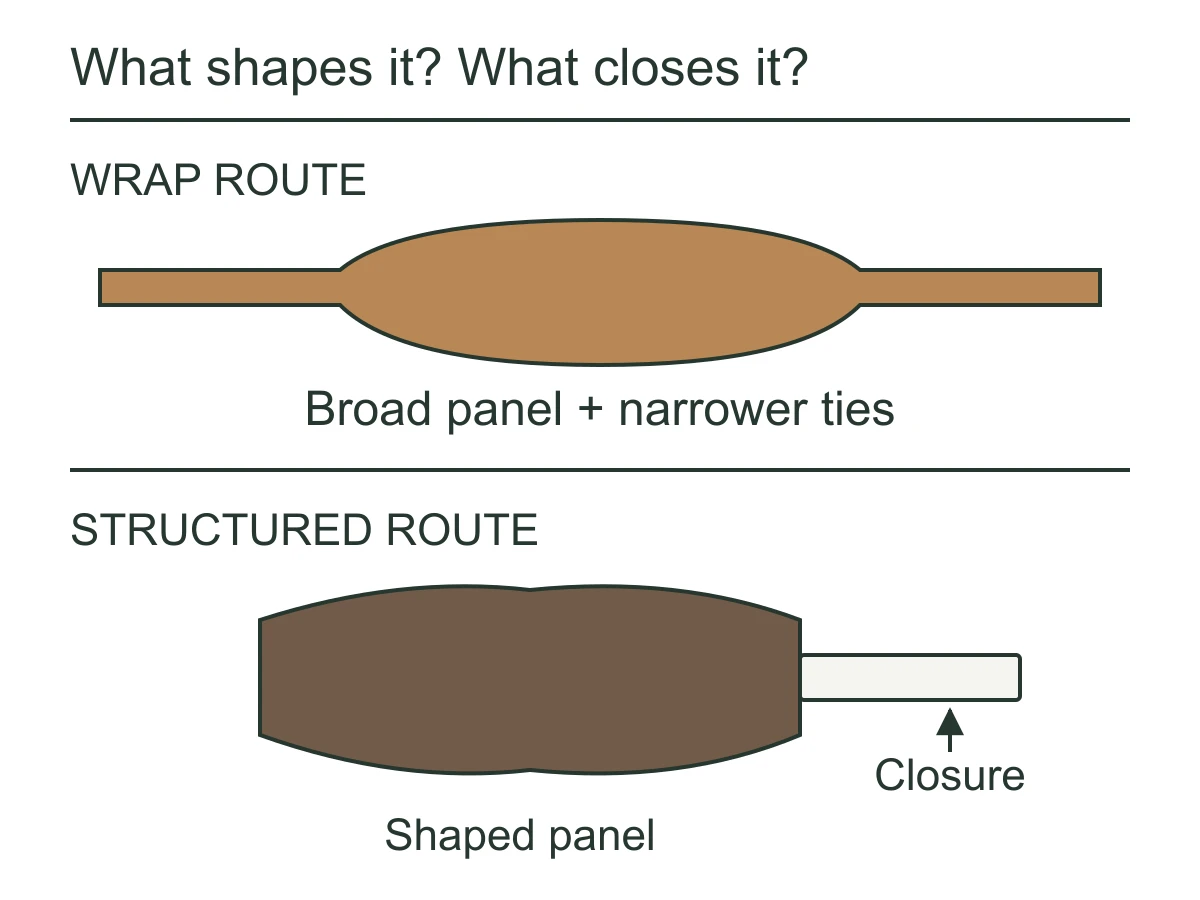
In a typical wrap route, the broad section supplies visual coverage while narrower ties complete the fastening path. The panel may overlap at the back or side, and the ties may return to the front. Where the ties start and where they cross determines how much of the panel is held against the garment.
Janome’s obi wrap project provides one concrete example: a fabric body with interfacing and separate ribbon ties that cross behind the wearer and return to the front. It demonstrates the distinction between body length and tie length, not a universal pattern or a production specification for leather belts.
A structured fashion belt relies more heavily on the panel itself to retain its outline. That may involve contoured cutting, a lining, interlining, local reinforcement or selected stays. The closure might be lacing, hooks, a buckle or a zipper. Decorative vertical seams are not proof of internal boning; a front lace pattern may be decorative while a separate closure does the work.
The distinction is therefore not simply “soft versus hard.” A wrap panel can be firm and lined; a corset-inspired style can have a flexible or elastic section. Draw the broad panel, the load-bearing closure and any adjustable section as separate components. That drawing is more useful to a developer than two style names and an overall width.
Compare the routes on the same design decisions
| Décision | Obi-inspired wrap route | Structured corset-inspired route |
|---|---|---|
| Where shape comes from | Panel cut, material drape, overlap and tying. | Panel contour, layers and any specified reinforcement. |
| How fit changes | Overlap, tie position and remaining tie length. | Closure range, panel dimensions and any elastic section. |
| First sample concern | Does the intended tying route hold the panel without excess bulk? | Does the panel follow the intended torso position without edge interference? |
| Likely trade-off | Styling flexibility versus variable knot and tail presentation. | Defined appearance versus more demanding contour and closure grading. |
| Size-range evidence | Useful overlap and ties at both ends of each size range. | Acceptable panel placement and closure behavior at both ends. |
These are development tendencies, not promises that one route always feels better or costs less. Materials and assembly can reverse an initial assumption. A complex lined leather wrap with finished long ties may require more work than a straightforward elastic-backed fashion panel. Compare equivalent materials, finish expectations and size coverage before discussing cost.
Why overlap and tie position change a wrap belt
The panel and ties travel around the body differently. A broad panel may cover most of the waist while narrow ties continue around it. Total end-to-end length mixes these two functions. If a supplier shortens only the ties to create a smaller size, the panel can still overlap too far; if only the panel changes, the finished knot and tail proportions can shift.
Define the intended wearing route with front, side and back views. Show where the panel ends meet or overlap, whether a tie passes through a slot, and where the knot finishes. A slot can guide a tie and reduce an unintended twist, but its position and reinforcement become part of the development task. Do not add one solely because a reference photograph appears to contain an opening.
A tie attachment concentrates the fastening load in a smaller area than the broad panel. On a leather design, abrupt thickness changes or a narrow attachment can affect how the tie bends and how the joint behaves. A softer tie may form a smaller knot but lose the crisp tail shape the designer wants. A firmer tie can preserve the outline while creating bulk at the crossing.
To evaluate the trade-off, use the same intended garment and tying route for each sample. Note panel position before and after ordinary seated and standing movement, whether the knot needs repeated adjustment, and whether the ties twist or mark the garment. Treat these as sample observations under stated conditions, not as a universal comfort test.
A wrap belt should not be sold as one-size merely because its ends are long. At the smaller end of the range, extra overlap can bunch behind the wearer. At the larger end, the panel may leave an unintended gap or the ties may become too short for the intended knot. The acceptable range is the range in which the whole design still works.
What reinforcement does—and what it cannot fix
A reinforced panel can resist folding, but stiffness cannot compensate for an unsuitable outline. A tall, straight panel may contact the lower ribs or upper hips when the wearer sits. Adding more reinforcement can make that interference more pronounced. Before making the entire belt firmer, check whether the panel is too tall at a particular position or has insufficient contour.
Reinforcement also has different forms. Interlining can change the broad panel’s body; a localized backing can support a closure; a stay can resist bending along a selected path. Prym’s polypropylene corsetry boning is an example of a specific component with rounded ends. Its product details do not establish a suitable length, quantity or material for your fashion belt.
If stays are proposed, define their positions, channels and end treatment together. A stay that prevents folding can still produce an unwanted hard point if its end or channel sits poorly in the assembly. Check the complete sample from both sides and during movement. Do not interpret a neatly stitched channel as proof that the unseen component has the intended finish.
Hybrid products show why labels alone are unreliable. OBIforCORSET describes its own garments as combining obi fabric, interlining, boning, an internal belt and a back zipper. That is a particular couture construction, not a definition of all obi belts or a claim that HongDing supplies that garment. The useful lesson is to identify the actual layers and fastening roles.
For a fashion-belt brief, start with the silhouette you need to retain. Then discuss whether material selection and contour can achieve it before adding internal components. Every extra layer can affect bending, edge finishing and closure assembly; reinforcement is a design choice with consequences, not a generic quality upgrade.
Choose the closure by its job
- Ties: allow adjustment through the tying route, but knot volume, tail length and repeated fastening become visible parts of the design.
- Lacing: can provide an adjustable opening, but the intended gap, lace length and reinforcement around the eyelets need to be considered together.
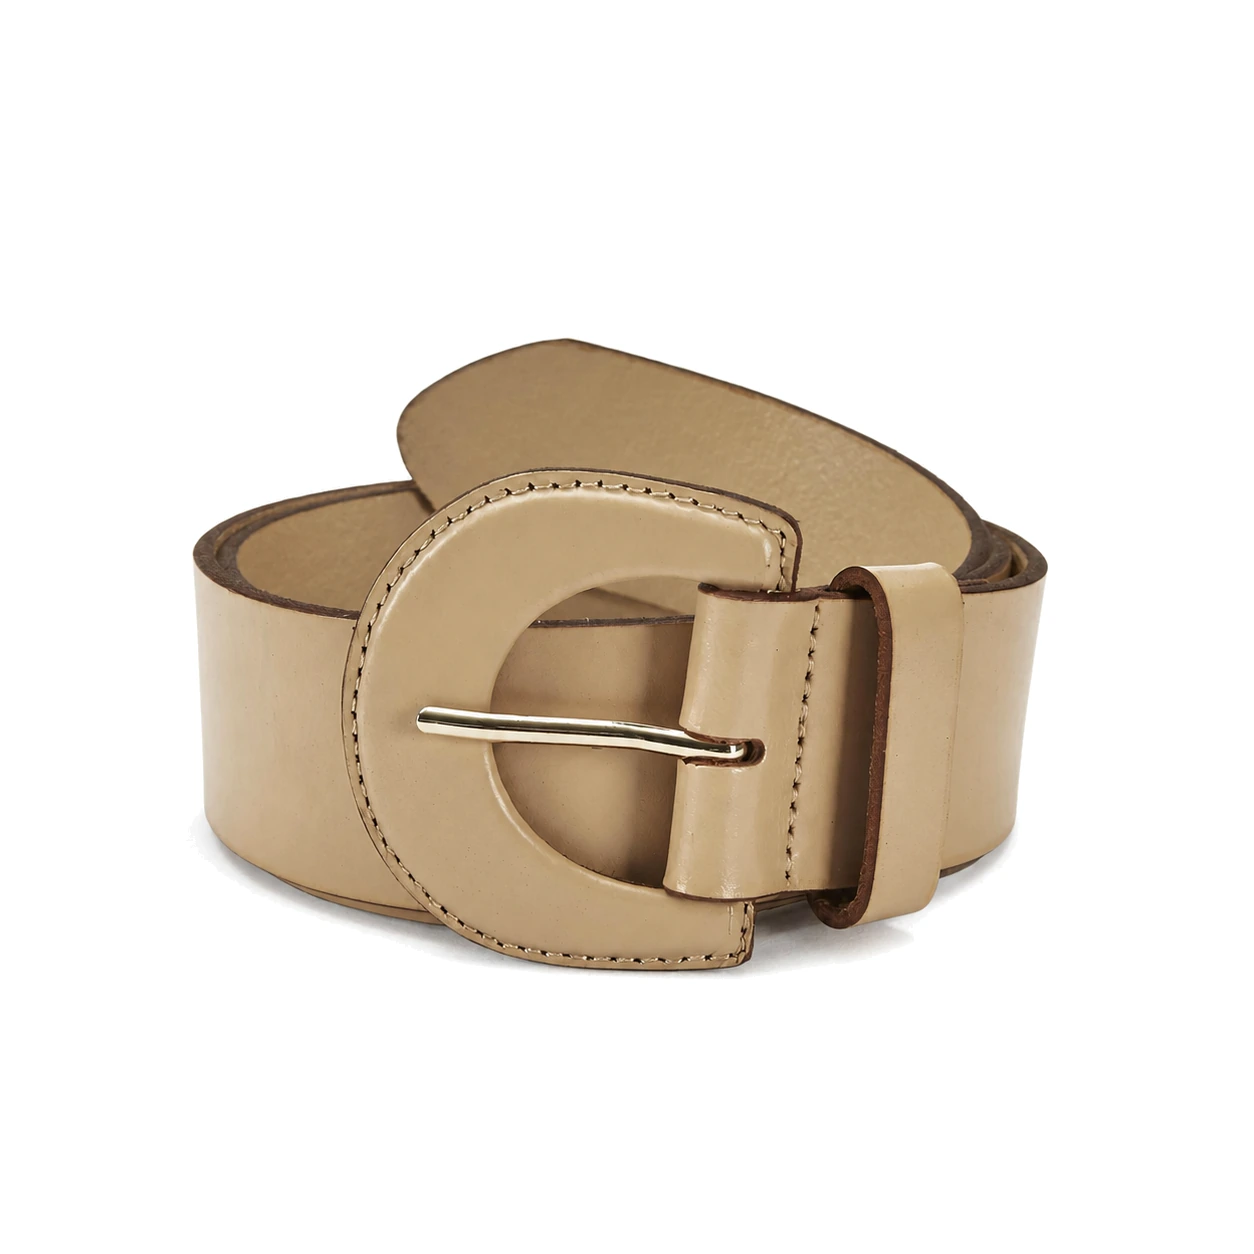
- Buckle or hook positions: give defined settings, but the usable range depends on panel placement as well as the number of positions.
- Zipper: can give a clean fixed closure line; it does not by itself provide a fit range. Fit must come from the pattern, sizing or another adjustable element.
For lacing, ask whether it is functional, decorative or partly pre-set. If the wearer must adjust it every time, the experience differs from a belt that opens through hidden hooks while the laces remain styled. The photographed front may be identical, so the brief needs an explicit opening sequence.
Watch the interface between closure and panel. A reinforced eyelet area can remain intact while the neighboring panel puckers; a buckle can fit its strap yet sit awkwardly against a tall front panel. Examine the assembled transition, not just the purchased fitting. Local reinforcement may be preferable to stiffening the whole belt when the problem is confined to the closure.
An elastic back introduces another variable. It may allow movement, but its relaxed length and extension behavior affect the position of the front panel and the load on joins. It does not automatically make a design comfortable across every size. Use the separate stretch-belt guide when elastic recovery and fastening-path measurement become the main development question.
Grade the fit, not just the total length
First define where the belt is worn: natural waist, a lower position, or over a particular garment layer. A body measurement and a measurement over a coat are not interchangeable. Record the garment used for fitting, because changing it can alter the effective wearing path and the way the belt sits.
Next separate dimensions that control appearance from those that control closure. Useful dimensions include front panel height, side height, back height, panel length between agreed points, tie lengths, attachment positions and the intended closed gap or overlap. A single “width” does not describe a contoured belt.
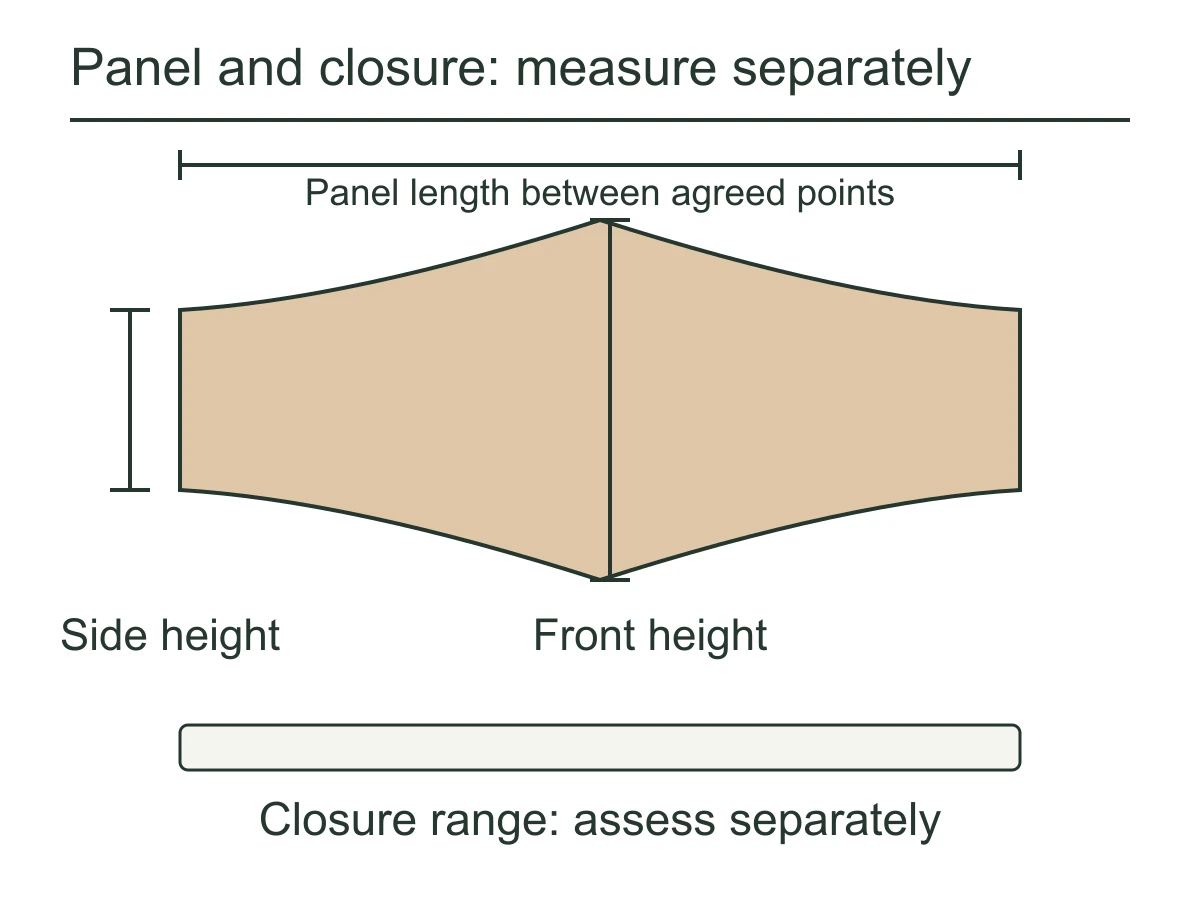
Evaluate the smallest and largest intended wearing paths for each proposed size. At both ends, check whether the front remains centered, the side and back edges sit as intended, and the closure still has the planned appearance. For a wrap, check the knot and tails as well as overlap. For a structured panel, check whether adjusting the closure pulls the outline out of shape.
Then compare ordinary movement: sitting, standing and bending in the intended garment. Ask wearers to stop if the belt causes discomfort or restricts normal movement; this is fashion fit evaluation, not a compression trial. Record where the design shifts or contacts the body rather than reducing feedback to “too tight.” That location helps distinguish a closure adjustment from a contour problem.
There is no universal grading increment for these two style families. A constant added length may be appropriate for one construction but insufficient for another whose contour or panel proportions need to change. Approve the range through representative samples, not only through a flat size chart.
A sample comparison that produces a clear next revision
Imagine a brand developing a wide belt for a shirt dress. The brief asks for a defined front shape, a small side knot and comfortable seated wear. Two illustrative samples are prepared: a soft wrap and a firmer shaped panel with ties. This is a teaching scenario, not a HongDing customer result.
The soft wrap forms the preferred knot but folds at the front when seated. The firmer panel holds its outline, yet its side edge interferes with the garment and the knot becomes bulky. Calling one sample “premium” and the other “cheap” would obscure the actual choices. The first needs a discussion about front shape retention; the second needs review of local height and the tie construction.
A useful revision request preserves what already works: keep the soft tie behavior and intended knot position, explore a better-supported front panel, and reconsider the side contour. Do not automatically make every part thicker. Ask the developer to explain how the revised tie attachment will join the panel and which original features need rechecking.
Repeat the fitting with the same garment and agreed wearing positions. If the revised front remains stable but the belt now slips, investigate the changed interaction with the garment and closure rather than assuming that increased stiffness solved the design. A sample comparison is valuable when it narrows the next decision, not when it generates a longer list of adjectives.
Connect the approved sample to production
Once the construction is accepted, retain more than a front photograph. Record the panel outline and measurement points, material and lining identities, tie or closure details, internal components where used, and the approved size range. Include a short fastening illustration if the route is not obvious. Retail presentation should show the same intended use.
For production review, compare the first assembled pieces with that reference before treating individual component measurements as sufficient. A tie can be the correct length but attached at the wrong point. A panel can match the cut outline yet behave differently after lining, edge finishing or reinforcement. Those assembly relationships are the reason to approve a complete belt.
During subsequent checks, keep deviations linked to the relevant material and assembly batches. If a tie joint, closure alignment or contour differs, identify the affected group, agree the correction and recheck the finished configuration. Do not release it solely because the visible front still resembles the design image. Packaging should also avoid forcing a structured panel into an unapproved fold or crushing a styled knot.
Questions before choosing a route
Can an obi-inspired belt contain reinforcement?
Yes. Wrap describes how the belt surrounds and closes around the wearer, not a ban on interlining or reinforcement. Specify where the added body is needed and preserve the flexibility required by the tying route.
Does a corset-inspired belt have to contain boning?
No. Fashion terminology does not establish hidden construction. Ask whether its shape comes from the cut, material, layers, elastic, stays or a combination, and describe the actual product without medical or body-change claims.
Start with the silhouette and the wearing route
HongDing can discuss concept-to-sample development for fashion belts, including material, panel and fastening choices. Share a reference image or sample, the garment it should work with, and what you want to preserve or improve. A complete tech pack is not required to begin clarifying those choices.