
Choose foil stamping when the belt logo needs an added metallic or colored finish; choose debossing when the design should sit below the surrounding leather surface; consider embossing when a raised relief is essential. These are appearance directions, not interchangeable quality grades. The right choice depends on the actual leather finish, artwork, belt construction and wear location. A foil mark can also be recessed, so specify color and surface relief as separate requirements.
For a brand team comparing foil stamping vs debossing on leather, the first useful sample is a production-intent mark on the proposed belt material. A digital gold effect cannot establish foil adhesion, and a dark shadow in a rendering cannot establish a readable blind impression. This guide helps you choose the route and design the comparison before committing to tooling.
Three effects: transferred finish, recessed mark and raised relief
Hot foil stamping transfers a decorative layer from a carrier using a heated tool and pressure. The visible result can add contrast beyond the leather’s own color. OWOSSO’s leather tooling guidance distinguishes this transfer from a leather indentation made by debossing. The pressing operation can leave an impression as well as color, so a foiled logo is not necessarily flat.
Debossing presses the design into the surface. Without added color, it is commonly described as blind debossing or blind stamping. Its visibility comes from the resulting relief and surface response. A restrained mark can suit a quiet design language, but a subtle impression that disappears in ordinary viewing may not meet a brand’s identification requirement.
Embossing, in the raised-relief sense used here, produces a design above the surrounding field. OWOSSO’s embossing and debossing explanation makes that raised-versus-recessed distinction and describes matched tooling for relief formation. This is useful terminology, not a promise that any finished leather belt can be raised successfully with a paper-embossing setup.
Leather suppliers also use “embossed” broadly for impressed textures. Avoid settling an order with that word alone. Show whether the mark should be raised, recessed, colored or some combination. Ask the manufacturing team to confirm the proposed tool and support arrangement on the selected construction. Our roller versus plate embossing guide covers repeating texture placement; the decision here is a localized logo.

Compare the routes by the job the logo must do
Logo process comparison for belt development
On a narrow screen, scroll the table horizontally to compare all three routes.
| Decision | Foil stamping | Blind debossing | Raised embossing |
|---|---|---|---|
| Visual priority | Added color or metallic contrast. | Recessed, usually tonal identity. | Raised tactile relief. |
| Main sample question | Does the chosen foil transfer cleanly and remain acceptable after relevant use checks? | Is the mark readable without unacceptable surrounding surface change? | Can the build form the desired relief without an unacceptable reverse or profile? |
| Artwork concern | Fine gaps, coverage and foil grade. | Small counters, edge definition and impression response. | Relief geometry and support access. |
| Construction dependency | Surface compatibility and consistent support beneath the mark. | Leather response and support beneath the impression. | Forming method, reverse access and assembly sequence. |
None of these routes is automatically the most durable. They change different things. Foil introduces a transferred finish whose retention matters; blind relief has no decorative foil to lose, but its appearance can still change. A raised mark also changes the local profile. Define the unacceptable outcome before treating one process name as a shortcut to a wear claim.
The exposed finish matters as much as the leather name
A hot-stamping tool meets the supplied surface, not an abstract category such as “genuine leather.” Record the leather article, color and finishing version used for the trial. A smooth coated face, pronounced grain and oily-feeling surface present different development questions even if the purchase descriptions all say leather. Do not transfer approval between them based on color resemblance.
The foil itself is a material system. Foilco’s layer explanation separates the carrier, release layer, decorative layers and bonding layer. The carrier supports the transfer; the bonding layer must suit the receiving surface. This explains why selecting “gold” from a color chart does not finish the specification: different foil grades can target different substrates and applications.
A small sample cut from a different finishing run may answer the color question while missing the production compatibility question. Identify exactly what was stamped, including any preparation applied before the mark. If the workshop cleans, flattens or otherwise prepares the surface for the trial, that step and its effect on the surrounding appearance belong in the proposed route.
For textured leather, compare the graphic against the grain at actual size. A fine stroke that crosses peaks and valleys asks the process to reproduce detail over an uneven surface. Increasing force to make a more complete mark can also change the grain around it. The buyer must decide whether a smoother branding panel is acceptable or whether preserving the original texture is more important.
HongDing’s role is to connect that choice with the material and assembled sample. A branding treatment should be discussed with the intended leather article and belt build, rather than approved on an unrelated demonstration piece. Material coordination and sample revisions can reveal which requirement needs adjustment before the finished style is released.
Design fine lines and empty spaces together
Buyers often focus on the width of a positive stroke and overlook the empty spaces inside letters and between adjacent elements. Those gaps must remain open for the logo to read correctly. In a small wordmark, an enclosed counter can disappear even when the outer silhouette still looks neat. Review both the mark and the spaces it leaves behind.
Foilco’s fine-detail guidance identifies narrow gaps as vulnerable to filling and advises against combining extremely fine elements with very large solid foiled areas in one artwork. This is a useful design warning; a line-size achievement on another substrate is not a guaranteed minimum for your belt leather.
Supply vector artwork at the intended finished size, with fonts converted to outlines and the approved version identified. Include a readable reference showing positive and reversed areas. A screenshot is a valid discussion starter, but it cannot communicate the final tool geometry reliably if it has been resized or compressed without a scale reference.
If a delicate crest is not readable, consider a simplified small-size variant, a larger mark or a different location. These options solve different problems. Enlarging the entire artwork may preserve detail but crowd the strap; removing a secondary ring may retain the main identity at the original size. Switching to foil can increase contrast while leaving a too-small counter unresolved.
For debossing, compare the desired depth with the edge definition and surrounding face. “Deeper” is not a complete improvement request. A strongly pressed border with illegible internal lettering still fails the design job. For raised embossing, show the desired relief with a physical reference or sectional sketch and have the maker assess how it can be formed in the actual layers.
Heat, pressure and dwell time work as a combination
Temperature, contact pressure and dwell time—the time the tool remains in contact—are linked process variables. Foilco’s equipment guidance identifies control of all three as important. The useful purchasing question is whether the selected material, foil, tool and setup can repeatedly produce the approved result, rather than which temperature appears most often in an online tutorial.
A foil supplier’s published setting also has a scope. Henan’s leather-foil information explicitly describes its temperature range as a starting reference dependent on machinery, tooling, coverage, speed and pressure. Copying that number to another leather article and machine would omit the conditions that make it meaningful. Let the responsible production team establish the working combination within the relevant supplier guidance.
When one side of a logo is weak, first compare the contact pattern and support instead of assuming the whole tool needs more heat. Uneven local support, a seam below the mark or a sloping assembled surface can make contact differ across the image. A change intended to improve one edge may overwork the already satisfactory area. This is a reason to examine the setup, not a diagnosis from a photograph.
Likewise, a complete transfer that spreads into small gaps presents a different question from an incomplete transfer. Record where the change occurs and compare a controlled revision. Changing foil grade, artwork, force and dwell together can create an acceptable sample, but the team then needs to approve that entire combination rather than attributing success to one setting.
Tool choice belongs in the same discussion. The die maker needs the artwork, substrate, expected use and equipment arrangement to recommend a suitable tool. An expensive tool material cannot rescue a design with insufficient space or an unsupported pressing location. Include tooling, setup and any special handling in the quotation instead of comparing only a price per stamped mark.
Place the mark on the belt as worn and assembled
A mark that looks centered on a flat blank may sit beneath the keeper or buckle after assembly. Place it on the finished belt drawing with a named reference point and orientation. Specify which side is visible, how the lettering reads when the belt is worn, and whether the mark is meant to be seen continuously or only during handling.
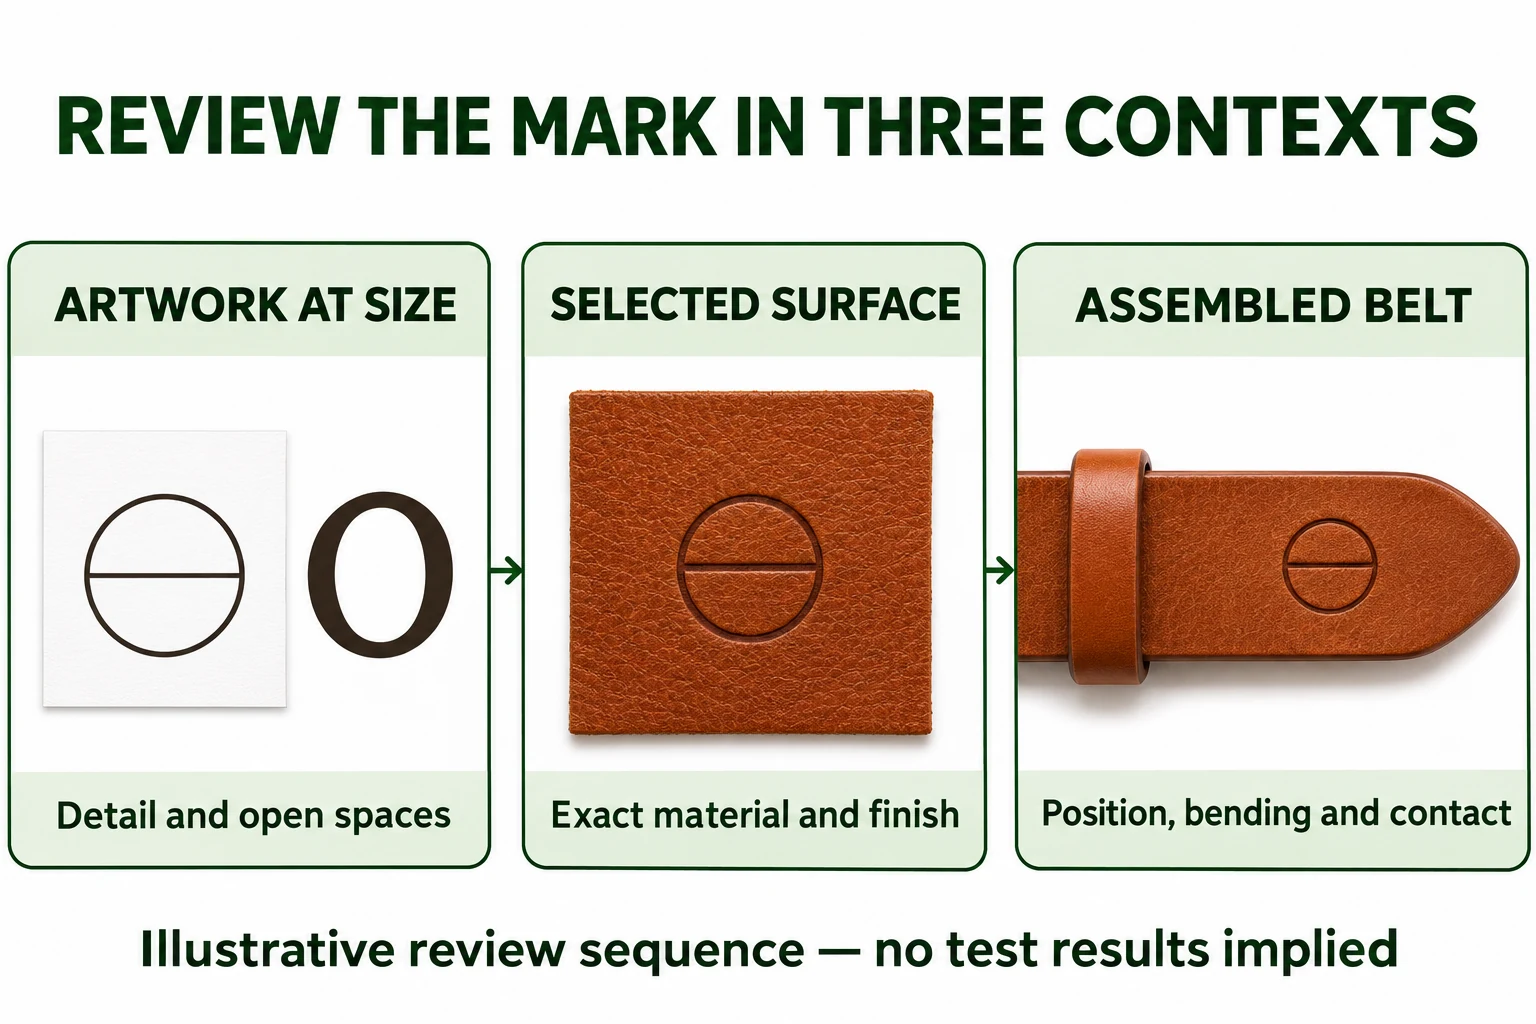
The location also determines contact and bending. A logo near a frequently folded region, on the tail that passes through hardware, and on a relatively undisturbed reverse area face different use conditions. Reproduce the relevant motion and contact in the sample review. A rigid flat swatch cannot answer every question about a narrow strap moving through a keeper.
Review production sequence with the proposed relief. If forming a raised mark needs access from the reverse, that access may change after lining or other components are added. If a mark is made before assembly, check whether later operations alter its appearance or alignment. If it is made after assembly, check whether the complete build can be supported consistently beneath the tool.
Neither timing is automatically superior. Early marking can provide access but introduces later handling; late marking can reflect the final position but makes the surrounding construction part of the setup. The sample should represent the intended sequence so that the approved result is reproducible.
Worked choice: a delicate crest on a grained casual belt
Consider a hypothetical brand developing a dark, grained casual belt with a small crest near the tail. The crest contains thin lettering inside a broad circular border. The brand wants recognizable identity but also wants to retain the grain. This is an illustrative development problem, not a reported HongDing order.
A blind-debossed trial reads poorly at the intended size. A foiled trial has stronger contrast, but the small internal spaces remain difficult to distinguish. The first decision is therefore about artwork as well as process. The team asks for a simplified crest that retains the main symbol while removing a secondary text ring, then compares it at the same intended size.
The simplified blind mark now gives the quiet appearance the designer wants, while the foil version remains the stronger visual accent. The team can choose between those identities without calling one technically superior. If retail recognition requires a bright mark, the foil route merits further evaluation; if restraint is the priority, the blind route may better match the collection.
Next, the selected sample is assembled and passed through its actual hardware in the intended adjustment sequence. If the tail location introduces unwanted contact, the alternatives include moving the mark, revising its size or changing the hardware relationship. Moving it onto the reverse changes visibility; moving it farther from the tail may affect balance. Those design consequences should be accepted explicitly.
If the brand instead requests raised relief, the team first establishes a workable forming and assembly route. It does not assume the same finished blank can simply receive the opposite die. A new raised sample must be judged for its face, reverse and local profile, then compared with the two earlier visual directions.
Approve appearance and use behavior separately
Use a focused comparison that keeps the material, location and artwork version identified. View samples under consistent lighting and at a normal reading distance, then inspect the detail. An attractive macro photograph can exaggerate the contrast of blind relief or conceal that a small logo cannot be read when the whole belt is visible.
- Judge the new mark. Compare position, orientation, color or gloss where applicable, edge definition, open counters and surrounding surface change.
- Operate the finished belt. Examine the marked region through the relevant bending and hardware-contact conditions.
- Evaluate the agreed wear requirements. Select appropriate rubbing, flexing or adhesion assessment with the responsible technical team; record the method, conditions and acceptance basis.
- Check the revised whole product. Confirm that an improved logo has not changed the hand, lining appearance, assembly or presentation the buyer already accepted.
A visual handling check does not establish service life, and a single adhesion result does not answer every wear question. Avoid universal cycle counts or improvised solvent checks borrowed from paper stamping. The relevant requirement belongs to this belt construction and its intended use.
Carry the chosen mark into production
Retain the approved artwork revision, actual-size placement drawing, material article and finish, foil grade and shade where used, tool reference and physical sample. The workshop’s validated setup belongs with its production instructions. The buyer’s record should identify the result and agreed acceptance criteria without pretending to prescribe an unfamiliar machine.
At first-piece review, compare the mark after the same downstream operations used for approval. During production, check relevant changes in material lot, tool setup and output against the reference. If definition or placement drifts, identify the affected interval, resolve the cause and recheck before releasing that work. A correct first sample does not make later substitutions automatically acceptable.
Our belt tech pack guide explains how artwork and sample revisions fit the wider product file. HongDing’s manufacturing coordination connects branding with materials, construction, assembly and inspection. The available process and operation sequence are confirmed for the actual design, rather than inferred from a generic branding menu.
Bring the logo and the belt surface together
Share the artwork or a reference image, the intended belt material and the location you are considering. Tell us whether added color, a recessed impression or raised relief matters most. HongDing can discuss a useful sample comparison with you while the remaining details are developed.