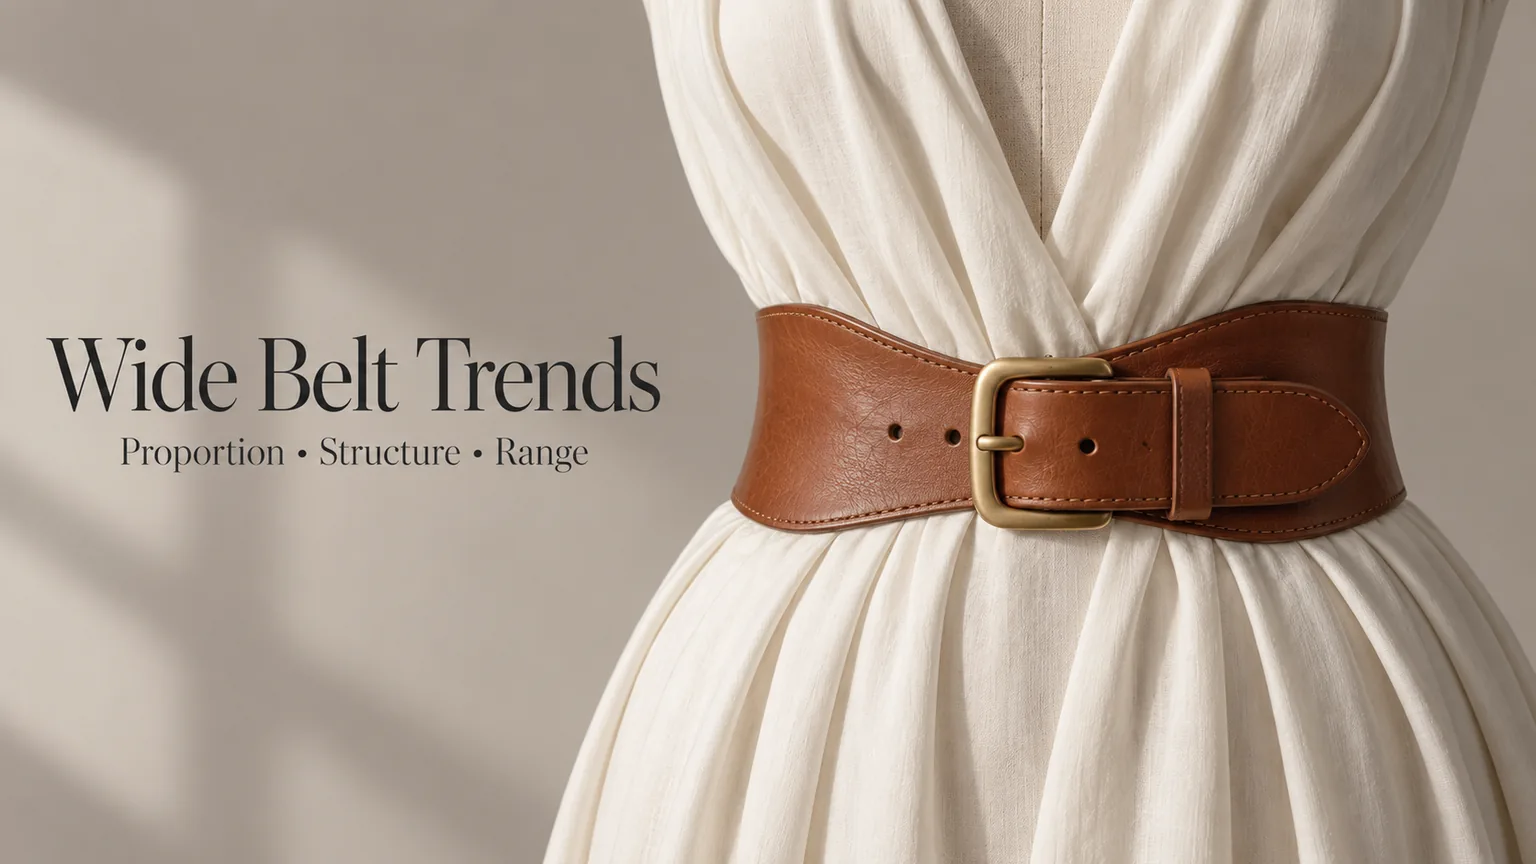
For a brand or retail buyer, wide belt trends are most useful when translated into proportion, wearing position and construction. A broad minimalist strap, a textured statement belt and a shaped waist belt can all create emphasis, but they place different demands on stiffness, contour, fastening and garment compatibility. Choose the silhouette first, then prove its behavior in a sample.
A dramatic belt can make a collection image work while creating a difficult product. A wide panel may stand away from the waist, roll at its edges or concentrate bulk beneath the buckle. Adding thickness can hide one problem and create another. The development task is to keep the intended visual effect without assuming that a larger version of a narrow belt will behave the same way.
This is a design and assortment guide, not a market-growth forecast. Current retail examples help identify available directions; they do not establish future sell-through or a universal winning width. HongDing’s wide and corset belt range provides a starting point for discussing these construction choices.
Read the direction, not just the word “wide”
The category label is relative. In its product information checked on October 6, 2026, OZMA’s Wide Belt lists a width of 1 1/8 inches and describes natural-waist sizing. That is useful evidence that a retail name cannot replace a dimensional brief. It is not a recommended width for every wide-belt program.
Likewise, TOTEME’s belt collection presents slim and wide options within the same accessories vocabulary. The buyer’s lesson is coexistence, not that one proportion has replaced all others. A directional range can include a broad focal style while retaining narrower everyday products that serve different garments.
Translate each reference into specific attributes: visible panel width, buckle scale, surface texture, wearing position and garment volume. Mark which attributes belong to the brand concept and which can change. This makes a trend board actionable without copying another brand’s protected design or implying a supplier relationship with it.
Three directions worth separating
- Quiet volume: a broad, restrained surface where proportion, clean edges and buckle integration carry the design.
- Texture-led emphasis: braiding, embossing or surface contrast that makes the belt a visible part of the outfit.
- Shaped waist definition: a contoured or panelled silhouette that needs fit development rather than simple width enlargement.
Let the garment decide where width can work
Start with the actual styling position. Through trouser loops, the available opening constrains both the strap and its tip. Over a dress or knit, the belt may avoid that limitation but must hold its position without unacceptable gathering or pressure. Over a jacket, the buckle and panel must accommodate the garment’s thickness and movement.
Compare the front, side and back views. A wide front panel with narrower sides can create a different effect from a uniform-width strap, even when the maximum width matches. Record widths at the relevant locations. A single maximum measurement does not describe how much material sits beneath the arm or at the back when the wearer bends.
As a hypothetical development comparison, a team might place 45-, 60- and 75-millimeter paper or low-cost prototype bands over one approved garment. These are trial dimensions, not industry categories. Compare the visible waist emphasis, interference with garment features and comfort-related movement before investing in finished material samples. The result may be a changed outline rather than a larger or smaller number.
Keep garment behavior in the discussion. A soft dress may gather unevenly beneath a rigid belt, while a tailored jacket may need sufficient panel stability to avoid a collapsed appearance. Check the intended size range, not just the styling sample used for photography. A proportion that works on one garment size may obscure a pocket or seam on another.
Quiet volume makes small construction differences visible
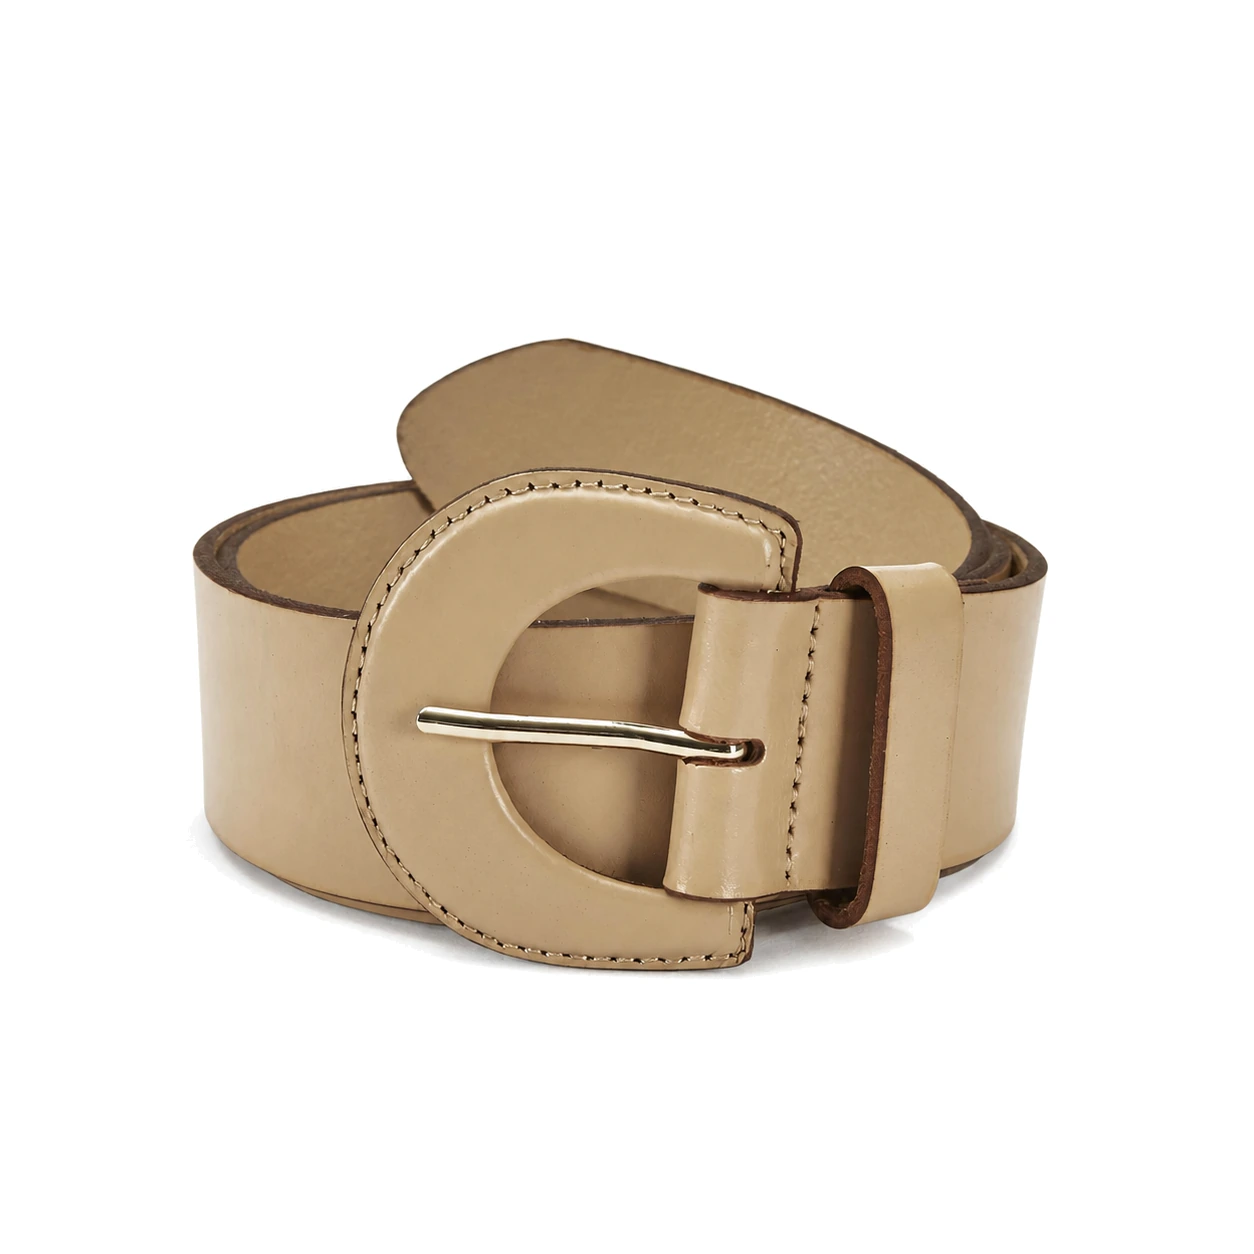
A broad plain surface gives the eye fewer distractions. Uneven edge paint, a distorted fold or inconsistent surface appearance can become more noticeable than on a heavily decorated style. The useful response is not automatically a thicker strap. It is to coordinate the face, backing, reinforcement, edge route and buckle attachment around the desired shape.
A covered buckle can extend the material story across the hardware, but it adds its own development questions. Examine the wrap around corners, joins, stitch placement and clearance for the strap. A large covered frame combined with a thick fold and keeper can create a bulky front even when the flat strap looks refined.
A smaller visible buckle on a broad panel offers another route. Here the load transfers through a narrower fastening section or tab. Review the transition into the main panel for creasing, distortion and attachment quality. A photograph may communicate the minimalist effect while concealing the engineering work that makes that transition repeatable.
HongDing can coordinate strap and buckle development together, including dimensional and CAD discussions where appropriate. The useful handoff is the intended assembled proportion and wearing position, not an isolated buckle drawing with the strap thickness left undecided.
Texture changes flexibility as well as appearance
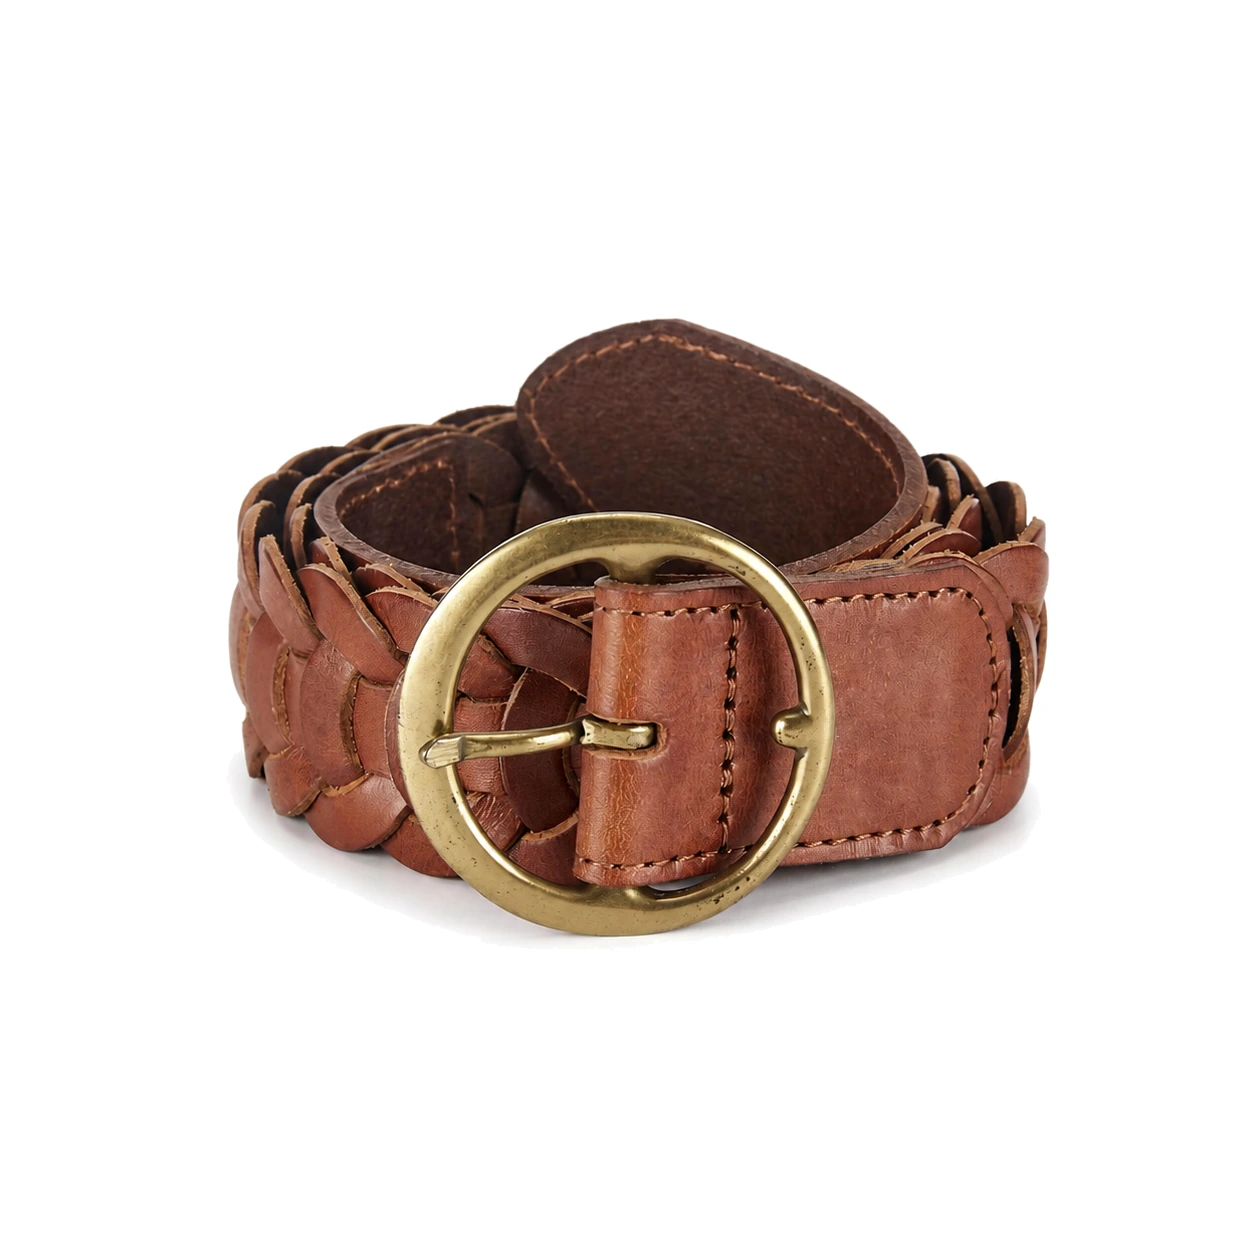
Braiding can break up a broad area and create a more open visual rhythm. Its behavior depends on the strand material, braid structure, backing and end construction. Do not assume that a braided look means uniform stretch or that every opening is a suitable fastening position. Confirm how the finished design is intended to close and where repeated loading occurs.
Compare the center of the braid with the solid end tabs. A supple braided section can meet a much stiffer attachment, concentrating bending at that transition. Review the join when the belt is curved and fastened, not only laid flat. The end must support the hardware without making the adjacent braid bunch or twist.
Embossed and suede-like surfaces create different questions. A broad embossed panel needs an agreed pattern placement and appearance range; a soft nap surface needs consideration of direction, marking and contact with the garment. Neither material name establishes durability or color-transfer performance. Choose an assessment route for the actual material and use case.
If the range includes a pale garment, bring that reference into the review. Surface transfer or rubbing may matter more than the belt’s appearance in isolation. Also consider storage: compressing a textured belt beneath hardware can leave a different presentation than the approved sample. Packaging should protect the feature the buyer is paying for.
Shaped waist belts need contour, not just stiffness
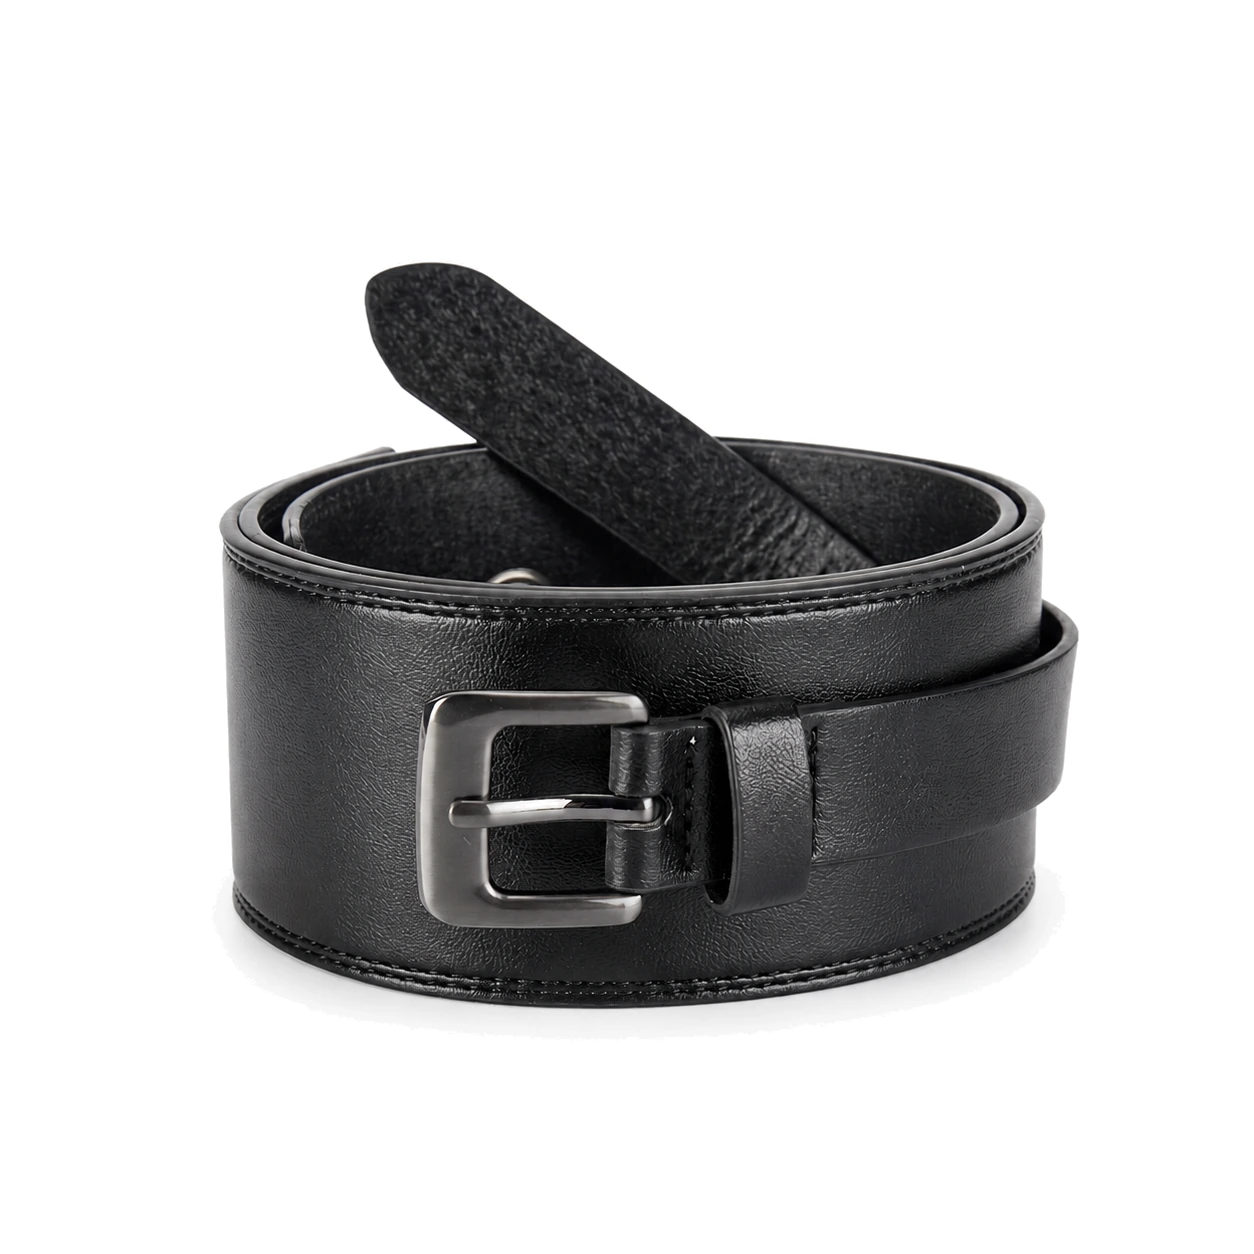
A broad band wraps around a body whose circumference can change between its upper and lower edges. A straight rectangular strip may therefore contact unevenly at the intended waist position. Depending on the garment and wearer, it can gape, tilt or fold. Tightening it further can increase pressure without resolving that geometric mismatch.
A shaped pattern can give the two edges different paths around the body. Panel seams or a contoured outline may help position the belt, but they introduce cutting, joining and size-grading decisions. Do not infer a contour from a front photograph alone. Request a flat pattern view and examine the sample from the side and back.
Separate contour from stiffness when diagnosing a sample. If the outline is wrong, adding reinforcement can make the mismatch more persistent. If the contour is suitable but the panel collapses under the fastening, a construction change may be appropriate. Adjust one variable at a time where practical so the next sample explains what improved the result.
“Corset-inspired” is an appearance description, not a claim of medical support or body-shaping performance. Keep the commercial wording aligned with the product you have actually developed. A fashion waist belt should not inherit performance claims simply because its silhouette resembles another category.
Resolve the layer stack and closure as one system
| Observed issue | Possible cause to investigate | Useful next comparison |
|---|---|---|
| Upper edge stands away | Wearing position or outline mismatch | Contoured pattern on the same garment, before adding stiffness |
| Panel wrinkles near fastening | Local load concentration or unsuitable layer balance | Attachment geometry and local support with the same overall outline |
| Front feels bulky | Stacked fold, keeper, strap and buckle cover | Assembled cross-section and selective thickness changes |
| Belt rotates on the garment | Fit, closure position, garment surface or weight distribution | Movement review using the intended garment and fastening setting |
A multilayer belt can use different materials to balance appearance and structure, but the total thickness alone does not describe its bending behavior. Compare where reinforcement begins and ends, how the layers meet at the edges and whether the fold has been prepared appropriately. Excessive local thinning can weaken an attachment; insufficient thinning can create a bulky joint. The appropriate route depends on the material system and fastening design.
For elastic-backed or stretch-panel designs, define the relaxed condition and the intended extended fit. The front decorative panel may stay relatively stable while the back supplies movement. That changes how size is communicated and how tension is distributed. A wide adjustment range is useful only if the product remains comfortable and visually balanced across that range.
Review closure engagement at both ends of the fit range. A hook, prong, snap or overlapping tab may look centered at the sample setting but shift when adjusted. Keep enough guidance and engagement for the actual mechanism, with product-specific criteria agreed during development. Do not substitute a universal fastening rule for the manufacturer’s review of the assembled sample.
Build a focused assortment around different jobs
Three visually different belts are not necessarily three different commercial roles. If all require the same occasion, garment and price position, they may compete for the same purchase. Give each proposed style a job: a quieter repeatable core, a texture-led outfit accent or a more directional shaped waist piece.
Then decide which variables deserve assortment depth. A plain core may justify several fit sizes before additional colors. A seasonal statement style may benefit from a narrow, deliberate color offer tied to the apparel palette. These are planning options, not fixed allocation ratios. Use the retailer’s own demand evidence and launch exposure to decide quantities.
Keep the style comparison commercially honest. A woven panel with stitched end tabs, a covered buckle and a multilayer shaped belt have different material and labor requirements. Compare quotations with the full construction, size range and packing scope aligned. A lower price achieved by removing support or changing a finish is a product change, not an equivalent offer.
For a new design direction, agree what the first selling period should teach you. Record size-related exchanges, styling questions, closure complaints and performance by garment pairing, not only total units sold. A product can attract attention while generating avoidable returns because its fit description is unclear. Our retail belt assortment guide explains the broader range-building decisions.
Make the first sample answer the hardest question
If the risk is contour, start with a pattern or construction prototype. If it is the buckle-to-strap proportion, prioritize the assembled front. If it is surface appearance, compare material routes without simultaneously changing the silhouette. A polished sample that leaves the main uncertainty unresolved is less useful than a clearly identified development sample that answers it.
Review the chosen construction on the intended garments in representative sizes. Capture the front, side and back position and note the fastening setting. Check seated movement and garment interaction through an appropriate fit process. Return specific feedback such as “upper edge gapes at the back in this position,” rather than simply asking for a tighter belt.
Once the direction works, connect the approved physical sample to its pattern, material references, layer stack, size convention and hardware. That is what allows the look to move from styling to repeatable production. HongDing’s development team can help turn a reference or material direction into those connected decisions.
Develop the proportion behind the trend
Share a wide-belt reference, the garment it will accompany and the effect you want to achieve. HongDing can discuss the outline, material, buckle and sample route together. A concept or existing sample is enough to start; exact construction, scope and timing are confirmed through development.