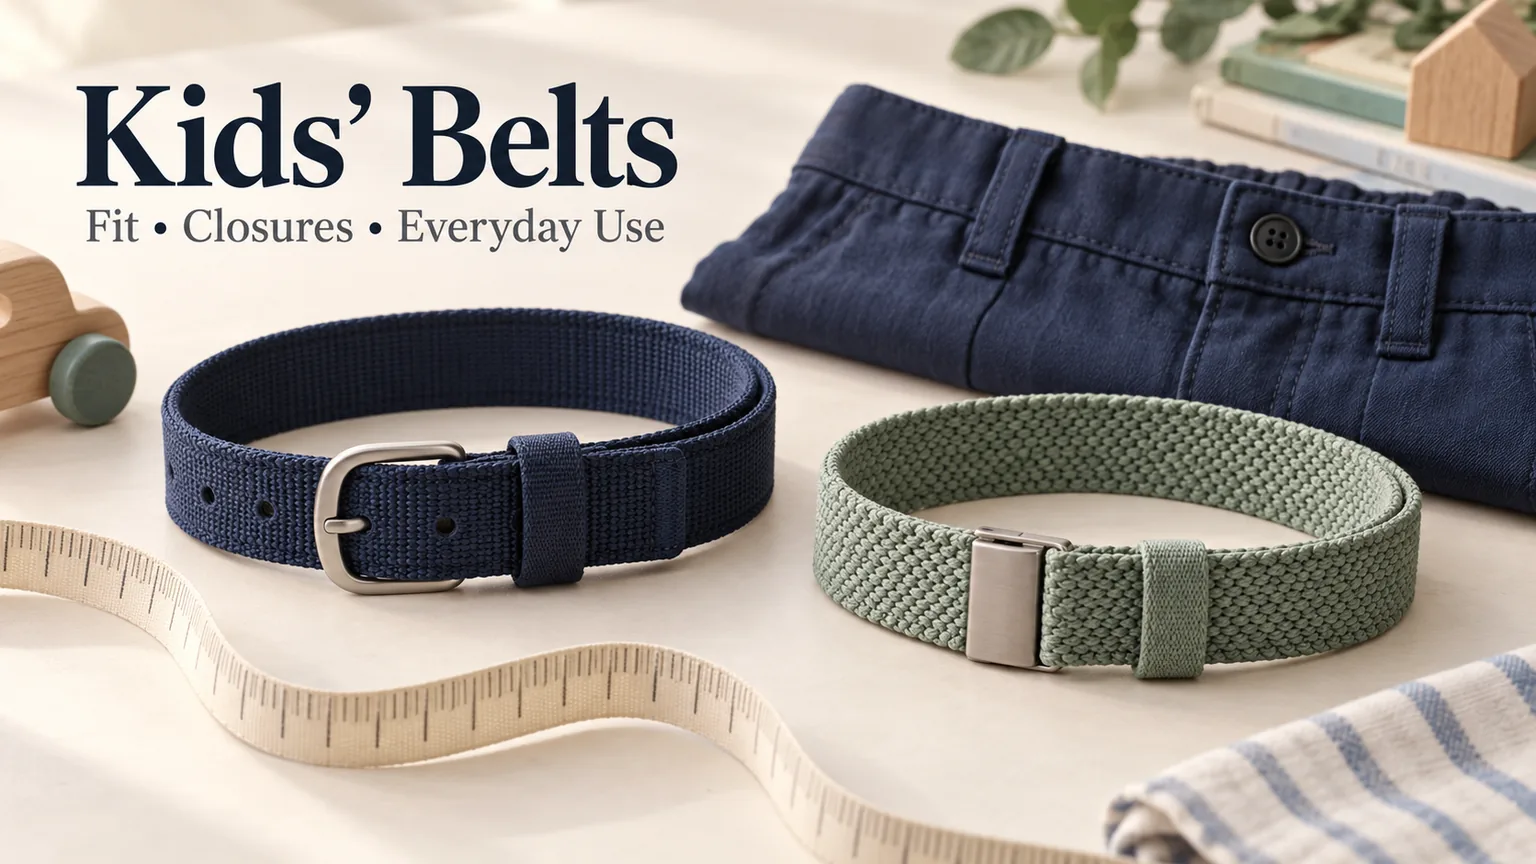
A useful kids’ belt range starts with the garment and the wearer, not an adult belt shortened to a smaller length. Define where the belt sits, the usable adjustment range, the closure task and the intended age group together. Then review the assembled sample for fit, operation, comfort and component security before choosing the order’s size breakdown.
For a brand developing school accessories or a retailer buying a coordinated children’s range, a belt can look right on a product board and still fail in daily use. The tail may double back awkwardly through a small trouser loop. An attractive buckle may be difficult to release. A soft elastic strap may hold its shape when new but need a different adjustment range after repeated stretching.
This guide addresses those product decisions. It is not a universal age-to-waist chart or a substitute for a market-specific compliance assessment. The objective is to turn an appealing design into a belt that can be fitted, operated and consistently supplied.
Key takeaways
- Use the intended garment’s belt path and loops to establish fit; age labels are navigation aids, not measurement specifications.
- Check effective fastening length, adjustment range and retained tail separately.
- Choose closures around the actual opening and fastening task, not a general claim that one buckle is best for every child.
- Make decoration, material changes and retail size labeling part of the sample review, not late packaging decisions.
Start with one clear wearing situation
A school-uniform trouser belt, a decorative dress belt and a youth denim belt solve different problems. A trouser belt must travel through loops and adjust without creating uncomfortable bulk. A dress belt may sit outside the garment and need to remain visually centered. A youth denim design may deliberately use heavier hardware, but its weight and fastening effort still belong in the brief.
Write a short use statement before choosing materials: “an independently operated belt for this trouser block,” for example, or “an occasional-wear accessory over this dress silhouette.” Add the intended age range, sales market and whether a caregiver normally helps. Do not infer independent dressing ability from a birthday alone. The closure must be evaluated through the relevant task and an appropriate, supervised product-development process.
Also ask whether the garment needs a separate belt at all. If a uniform program already has an adjustable waistband, the belt’s principal role may be appearance. That changes the importance of holding force, stretch and buckle size. Conversely, a decorative belt should not be represented as equipment for restraint, climbing or other load-bearing use.
HongDing’s kids and youth belt development can begin with a garment reference, existing sample or design image. Identify what the reference communicates: color, fastening method, proportion or construction. A picture alone cannot establish its hidden material layers or its appropriate fit range.
Build the size range from the belt path
Measure around the intended belt position over the garment under defined conditions. A natural-waist measurement is not automatically the same as the path through a particular trouser’s loops. The product team should record which garment size was used, whether the waistband was stretched and how the measuring tape was positioned. Those conditions make later fit comments comparable.
For a conventional prong belt, agree the measurement origin at the buckle assembly and the fastening point at the selected hole. Use a labeled drawing or annotated sample so both parties apply the same datum. Overall end-to-end length includes the unused tail and hardware allowance; it is not a reliable replacement for effective fastening length. HongDing’s belt size guide is a starting reference, but the project still needs its own agreed convention.
Separate three dimensions that are often confused
| Dimension | What it tells the buyer | What to review on the sample |
|---|---|---|
| Effective fastening length | The belt path at a defined fastening position | Datum, center or nominated hole and assembled buckle allowance |
| Usable adjustment range | The fit positions the finished belt can actually serve | Smallest and largest usable settings, including closure engagement |
| Tail beyond fastening | How the surplus strap is retained after fastening | Keeper position, garment loops and interference at both range limits |
Consider a hypothetical five-hole sample with effective fastening lengths of 50, 52, 54, 56 and 58 centimeters. Its central position is 54 centimeters, and its adjustment span is 8 centimeters. Neither figure tells you the total strap length or proves that every child within that belt-path range can use it comfortably. The smallest setting may leave an inconvenient tail, while the largest may leave too little tail to remain securely guided. These numbers illustrate the specification method, not a recommended children’s size chart.
Check neighboring sizes for useful overlap. Overlap helps when the wearer falls between nominal labels, but excessive overlap can add redundant inventory without improving fit. A “one size” label deserves particular scrutiny: extending the range may require a long loose end, a bulky folded return or a sliding adjuster positioned where it presses against the wearer.
Elastic needs a second measurement condition
For an elastic belt, record the relaxed length and a defined extended condition. “Stretches to” is incomplete unless the extension method and force are understood. Two straps can reach the same length while requiring very different pulling effort. Ask the sample team to compare comfort-related tension, recovery after release and adjuster movement using an agreed procedure rather than judging stretch by hand once.
Growth allowance is therefore a range-design question, not an instruction to supply the longest possible belt. Review the shorter setting on the smallest intended garment as carefully as the longer setting. Keep nominal garment ages on the retail chart only after the mapping has been checked against the actual product range.
Choose the closure by how it operates
The relevant sequence is release, position, tension, engage and retain the tail. Walk through all five steps with the assembled sample. If a child can close the buckle but cannot release it easily during normal dressing, the product has not met the intended task. Review operation without creating unsafe pressure or exposing children to an unassessed prototype.
Prong buckles: familiar, but sensitive to strap details
A prong buckle gives distinct fastening positions and a recognizable appearance. Its operation depends on more than the metal shape. The strap must bend around the frame, the prong must enter the hole without excessive force, and the tail must pass through the keeper. A thick fold, a stiff coated strap or tight keeper can make a small buckle unexpectedly awkward.
For a uniform design, compare the actual assembled buckle with the narrowest relevant garment loop. Check the tip as well as the straight strap: a decorative tip can be wider or thicker than the nominal belt width. If the belt will be removed for garment care, repeated threading belongs in the use review.
Sliding adjusters and clip closures: evaluate the combination
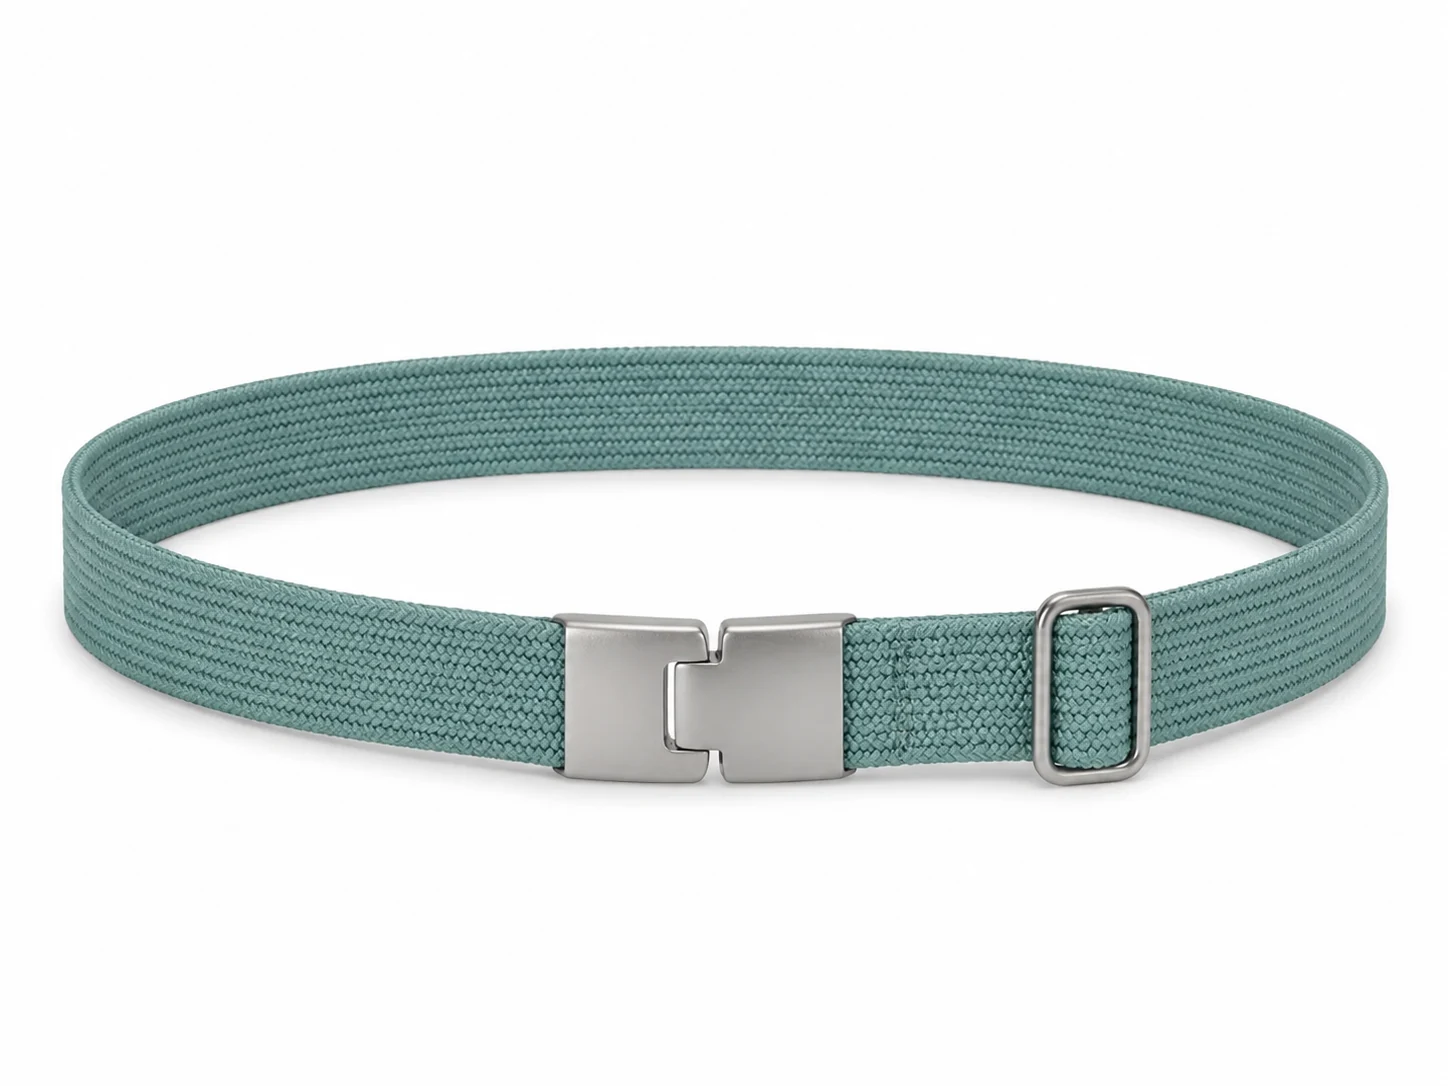
A sliding adjuster can offer continuous sizing, while a separate clip may simplify opening. These are two different functions. A clip that opens conveniently does not establish that the adjuster holds its setting. Webbing thickness, surface friction and the routing through the adjuster determine whether the strap creeps during movement.
Check for pinching locations, partially engaged positions and exposed edges as appropriate to the design. A release that is too stiff may frustrate the intended user; an insecure fastening can open unintentionally. Do not set an arbitrary universal release-force target from an adult sample. Agree the product-specific assessment with the development and safety teams.
Hook-and-loop and garment-mounted designs
Hook-and-loop closures can provide a broad contact area and quick adjustment, but their usable range depends on sufficient overlap. Exposed hook material can catch garment surfaces, and a folded end can add bulk. Assess the smallest and largest settings after repeated opening under the agreed review conditions.
Some designs fasten to garment loops instead of forming a conventional complete belt. That shifts load and wear to the garment attachment. It also changes laundering and compatibility questions. Do not describe this route as universally safer or easier: evaluate the complete belt-and-garment system, including whether different trouser blocks provide suitable attachment locations.
Specify softness without losing shape and durability
“Soft” can refer to the surface feel, bending stiffness or stretch response. State which property matters. A pleasant surface does not prevent a rigid edge from pressing into the wearer when seated. Conversely, a very flexible strap may wrinkle under the buckle, twist through loops or make threading more difficult.
For a layered leather or synthetic strap, ask for the finished construction rather than only the face-material name. Backing, reinforcement, adhesive and edge treatment contribute to the result. Changing a backing to reduce cost can change bending behavior even when the front photograph looks identical. HongDing can discuss material and construction alternatives during design development; compare them as complete samples.
For webbing and elastic constructions, inspect the cut ends, seam placement and any folded attachment. A rough sealed end or bulky overlap may be more noticeable on a small garment than on an adult belt. The goal is not the thinnest possible assembly: an attachment still needs an appropriate construction and verification plan.
Review contact with the intended garment. A dark suede-like backing may raise transfer questions on a pale uniform; a coarse edge may snag a fine dress fabric. Identify the materials and use conditions, then agree suitable assessments. A water-resistant face material does not make the whole assembled belt washable. Hardware, backing, adhesive and decoration can require different care.
Treat decoration as part of the product, not an add-on
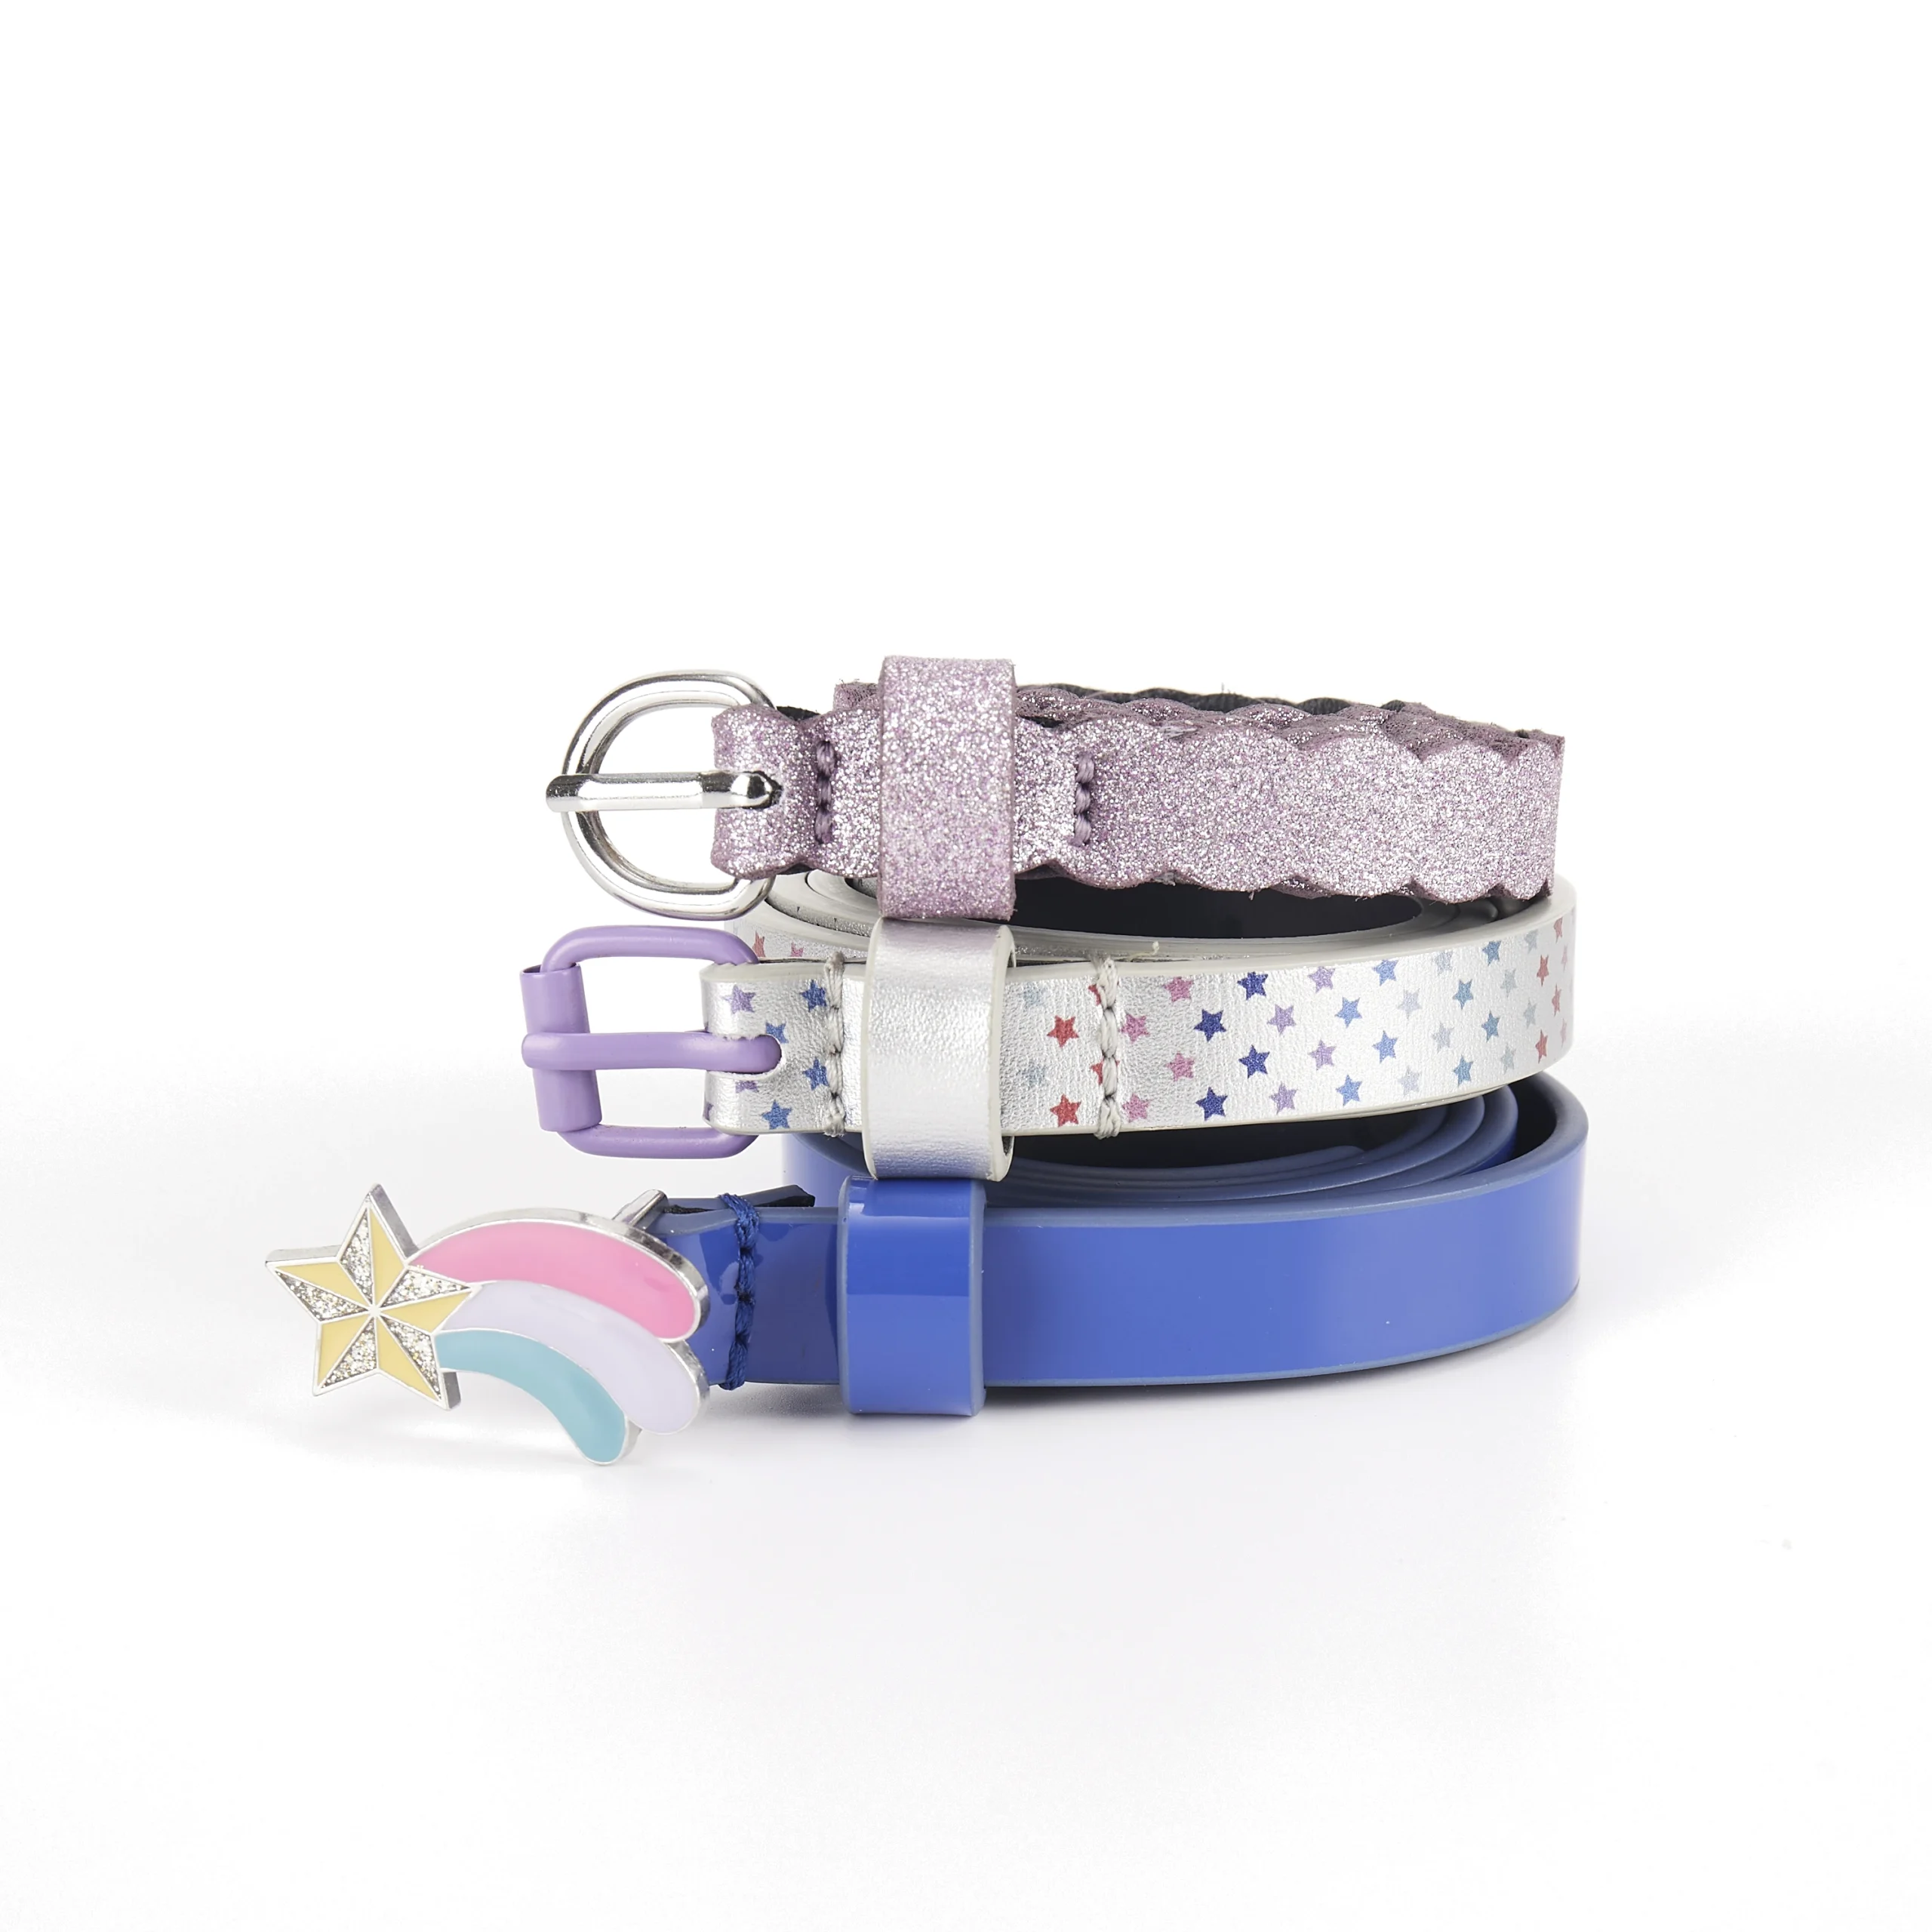
A charm, glitter finish, shaped buckle or decorative rivet changes more than the artwork. It can introduce additional attachment points, coating variants, exposed edges or contact with the garment. Position it on the fastening range before approving the look. A motif that sits neatly at the middle setting may interfere with a keeper or loop at the shortest setting.
Keep the components identifiable in the bill of materials. If three colorways use different buckle coatings or printed finishes, the technical and compliance teams need that information. One attractive sample does not establish that substituted bulk components are equivalent. Specify the permitted changes and the review required before a substitution is accepted.
US compliance also needs careful classification. The CPSC small-parts guidance lists children’s clothing and accessories among the exclusions from the small-parts ban. That does not justify ignoring detachable decorations, and it does not establish the treatment of a product with a separate toy function. Have the actual design and intended use assessed rather than applying a generic toy-test statement to every belt.
Our children’s belt CPSIA guide addresses the US documentation and component-evidence route in more detail. Keep that work connected to the final specification. A component’s appearance, a supplier’s general assurance or a photograph of another belt cannot demonstrate the compliance of the SKU being ordered.
Review a small sample set that exposes the real risks
Request samples that answer decisions, not a large set of near-identical colors. If uncertainty is concentrated in the smallest fit, the stiffest construction and the heaviest buckle, prioritize those combinations. A middle-size sample in an easy material may hide the problem. Explain the purpose of each sample so provisional components are not accidentally approved for bulk.
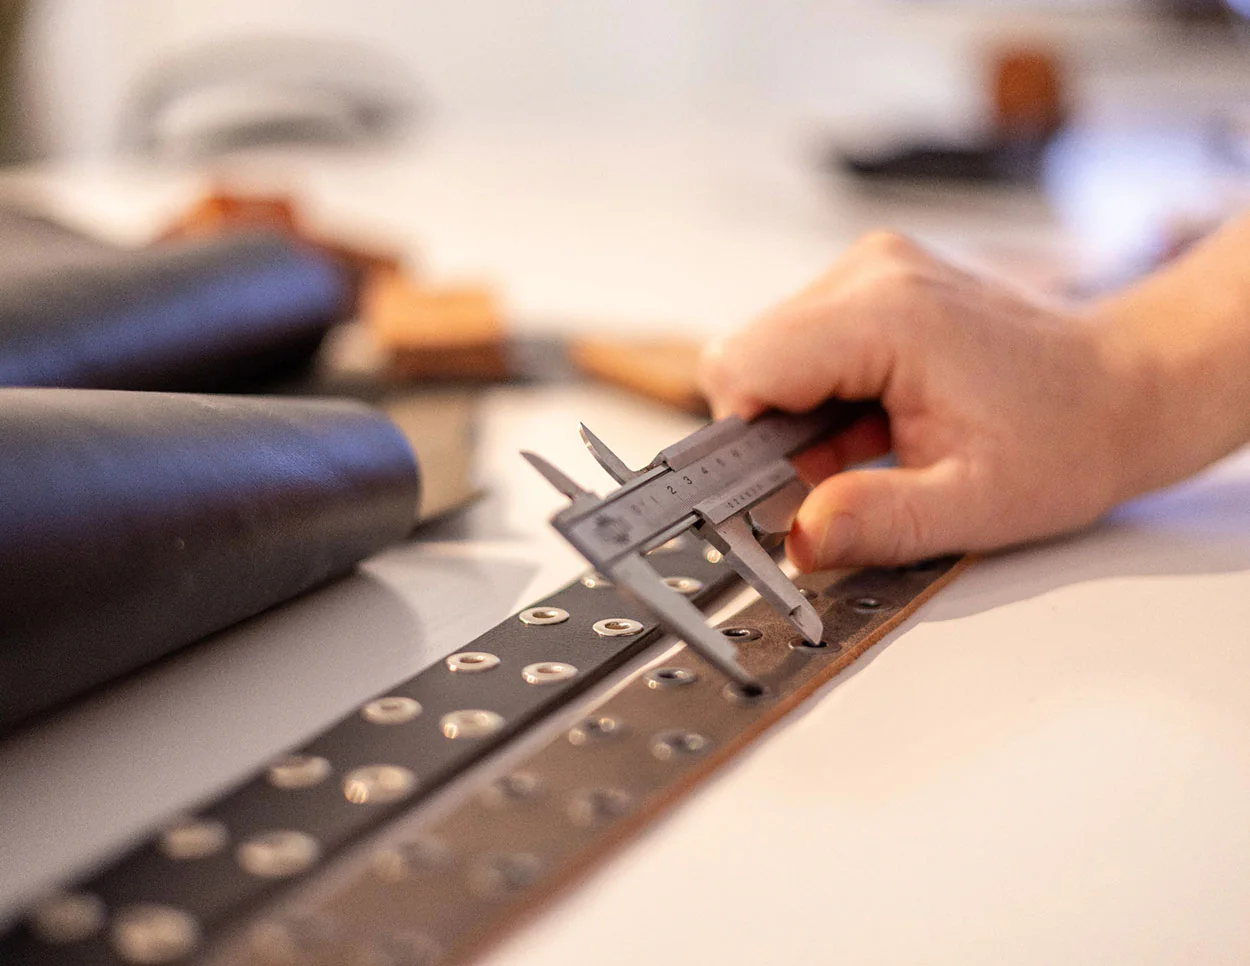
- Check dimensions and interfaces. Measure against the agreed datum and try the strap, tip and keeper through the relevant garment loops.
- Review the operating sequence. Observe release, fastening and adjustment under a suitable supervised process after prototype risks have been assessed.
- Compare seated and moving fit. Look for edge pressure, buckle rotation, twisting, slipping or an unmanaged tail.
- Repeat the relevant actions. Reopening, refastening, threading and stretching can reveal issues that a flat inspection misses. Agree methods and acceptance criteria with the responsible team.
- Confirm the production reference. Record the final construction, size schedule, hardware, finishes and unresolved items before bulk release.
Separate a design failure from an individual workmanship defect. If every sample is hard to thread because the tip is too wide, tightening inspection will not solve the underlying geometry. If only one sample has an uneven keeper opening, the construction may work but the manufacturing control needs attention. Correcting the right cause prevents repeated sample rounds that change color while leaving function untouched.
For feedback, a short video of the actual operating problem can be more useful than “buckle too difficult.” Pair it with the sample revision and a clear description of the step that fails. Do not circulate identifiable images of children unnecessarily; product-only demonstrations and appropriately managed fit records can often communicate the issue.
Turn approved fit into an order that stays understandable
Separate style, color and size in the SKU list. A child-focused collection can multiply quickly when every design gets every color and every nominal age. Build quantities around the expected garment program and available demand evidence, not equal allocations for administrative convenience. For a new range without sales history, state the uncertainty and discuss a focused launch rather than pretending the size curve is already known.
Use the same measurement convention on the purchase specification, packaging and customer-facing size chart. If the hangtag says “length,” explain what is measured. A chart based on total strap length can create exchanges even when production follows the technical drawing correctly. Keep centimeters and inches consistently rounded and do not allow conversion rounding to create conflicting specifications.
Ask how replacement orders will identify the approved construction. A retained sample helps compare appearance and feel, but a dated specification is needed to control hidden layers, component references and revisions. When a material or buckle becomes unavailable, review the alternative before treating it as the same SKU. This protects both fit consistency and the evidence associated with the product.
Questions buyers ask before sampling
Can we convert an adult belt into a children’s version?
It can provide a design reference, but simply shortening it leaves width, thickness, buckle mass, keeper geometry and fastening effort unresolved. Review the smaller garment interfaces and intended operating task before approving the adapted construction.
Should every children’s belt use elastic?
No. Elastic can support adjustment and movement, but tension, recovery and adjuster stability still need review. A non-stretch design may suit an occasion or uniform brief better. Decide from the garment, fit requirement and closure task rather than a universal material rule.
What should we send before we have a technical pack?
A reference image or sample, intended garment, age group, market and the features you want to retain are useful starting inputs. Add any known size or closure problems. The next step can be a feasibility discussion and a sample designed to resolve those open questions.
Develop the fit and fastening together
Send HongDing your children’s belt concept, garment reference and intended market. We can review material, closure and construction routes and agree what the first sample should prove. Exact sample scope, commercial terms and timing are confirmed for the project.